|
|
|
|
The story and photos of my folding boat © 2007, 2008 by Man of the Cloth Productions.
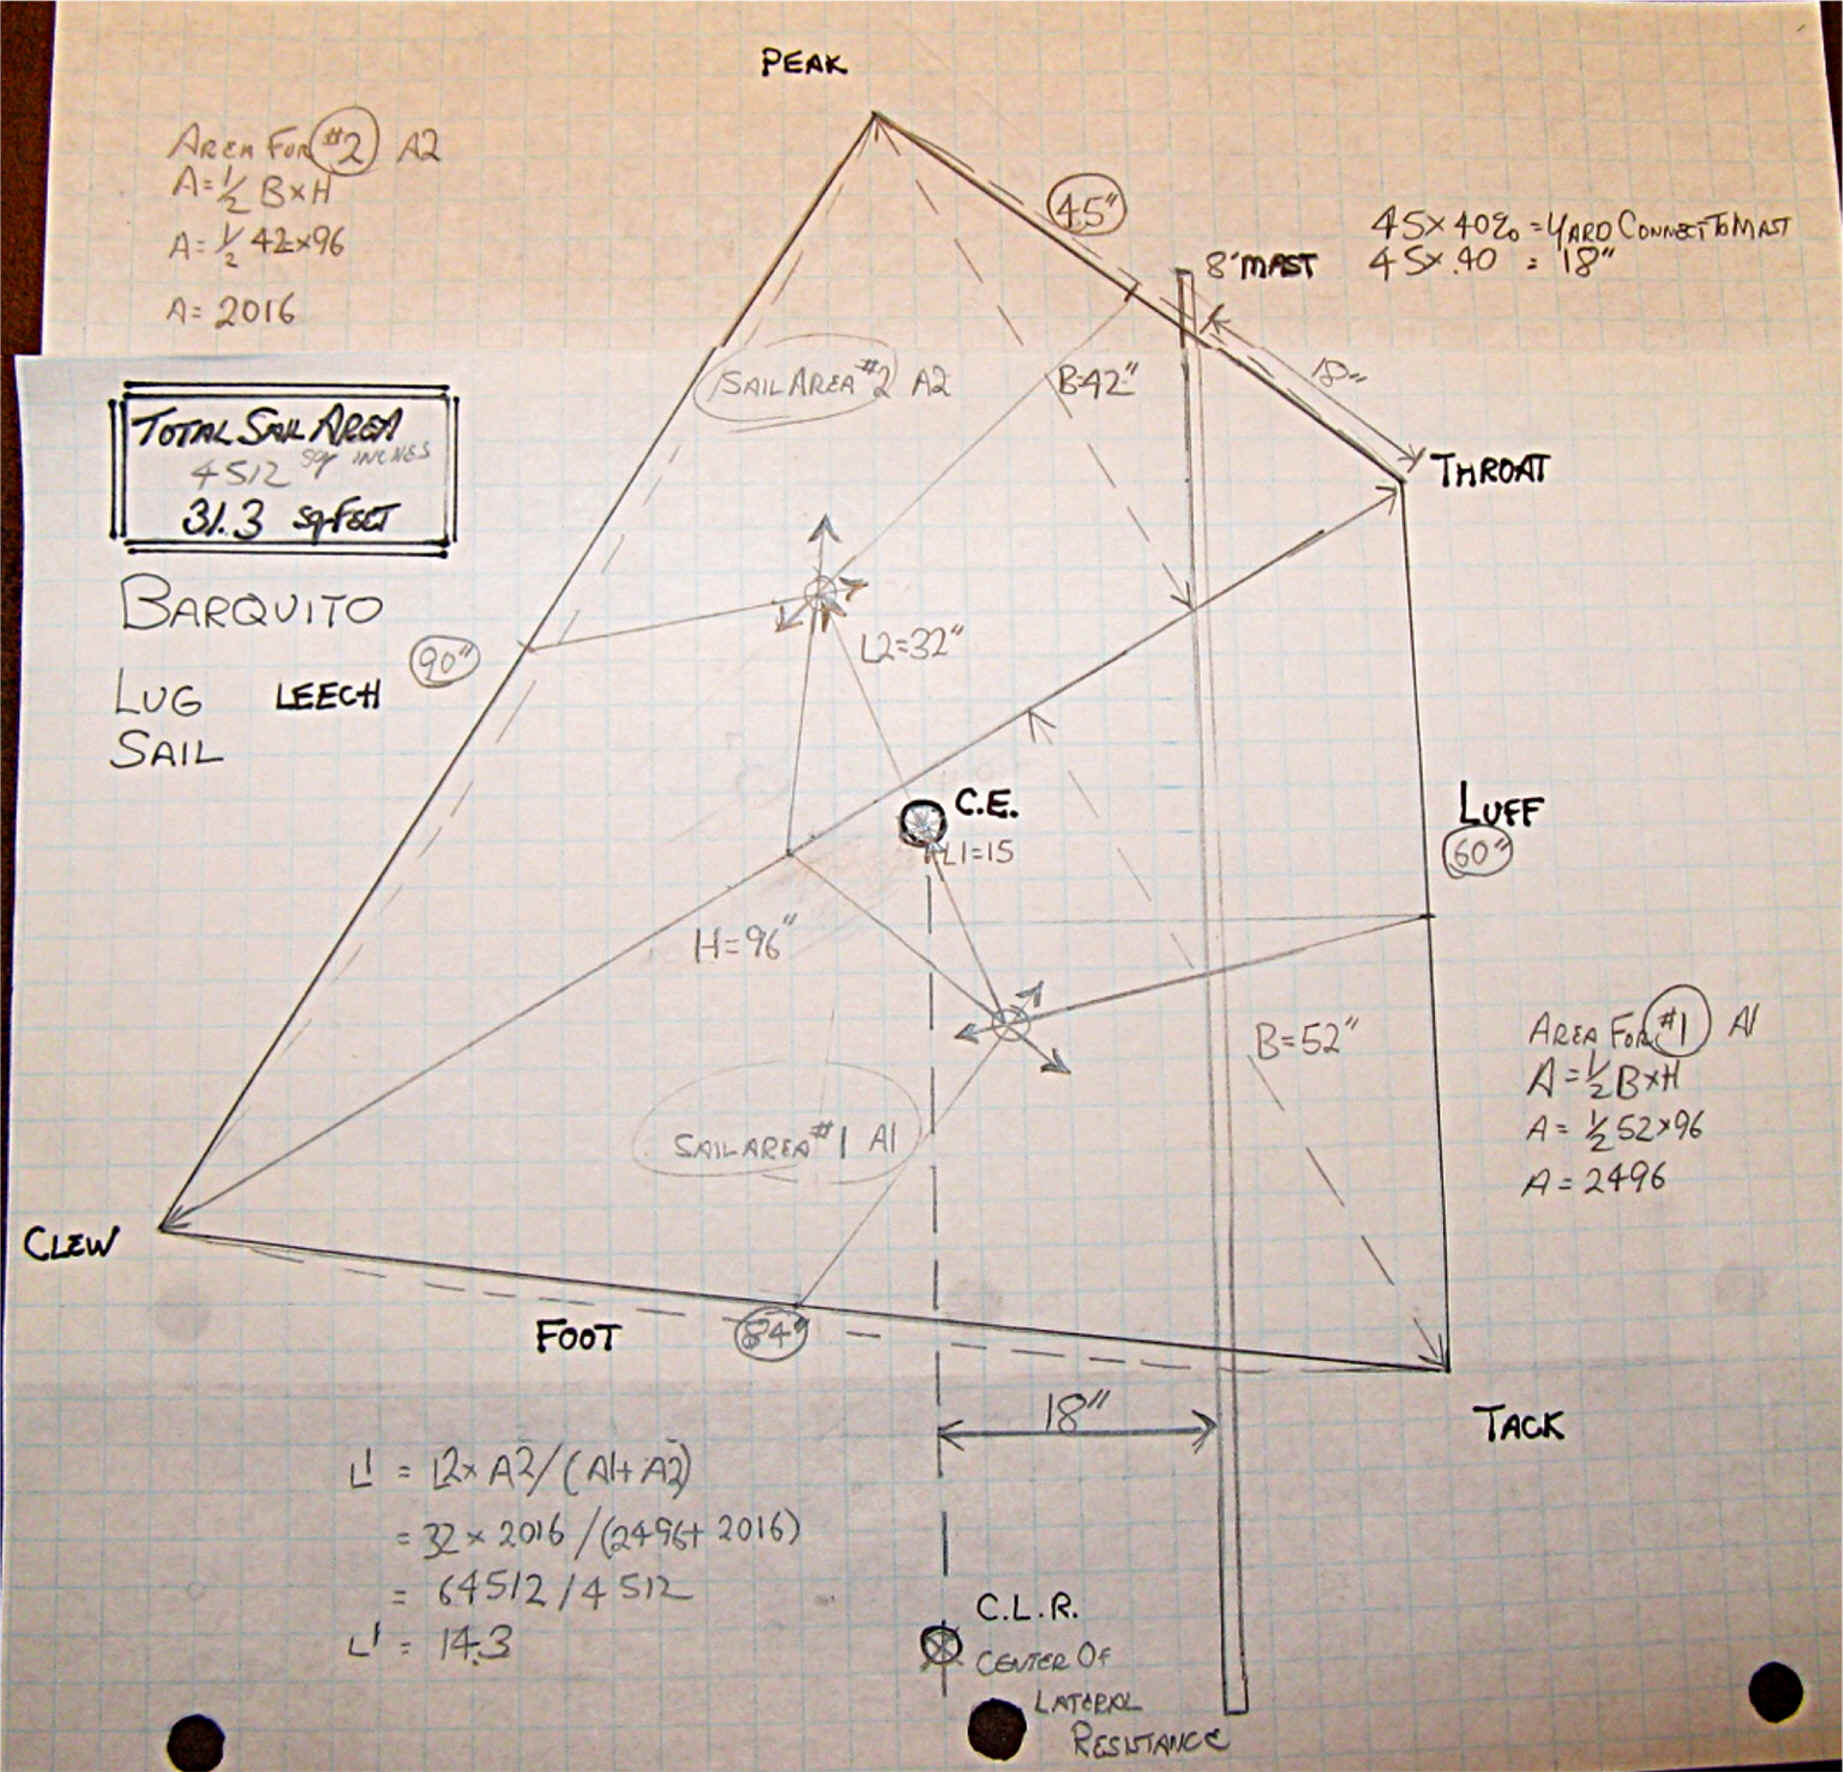
This is my first sailboat and I am a novice sailor. I picked the lugsail design for its well-behaved, forgiving manners, its ease of rigging and its reported ability to sail close to the wind. The lugsail is certainly not a high tech sail, but it will suit my little boat and more importantly suit my skill level. The 8' hull of the Barquito just fits inside my car. This limits the mast height to 8' as well. The mast crosses the lifting yard at 40 % of the yard from the throat, or 18". When the load of the wind is added, the crossing will be closer to 33 %, which is optimal. For simplicity I kept the luff parallel to the mast. I picked 7' for the foot of the sail to maximize the area. These decisions made the leech 90". If I did the math correctly, the center of effort is also 18" from the mast. To balance the helm, the center of lateral resistance on the leeboard will also need to be at 18". In the drawing below, one square equals 3 ".
I am indebted to Jim Michalak for his helpful articles on boat building. Particularly the one on sail area math and the one on lugsails.
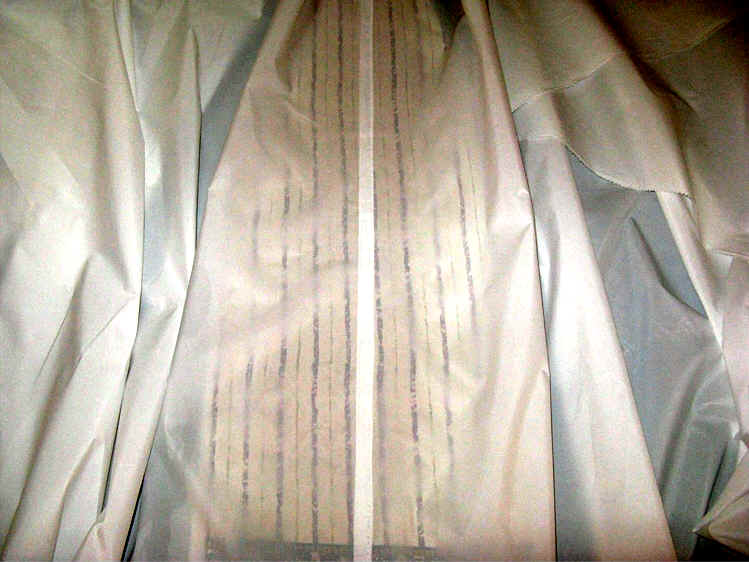
When I built the hull of my folding boat I covered the outside with polyester. I retrieved this polyester and measured the width of the fabric. I discovered I would have to seam the material. I decided to place a seam horizontally at the center of effort. I also decided to use a French seam because of its strength and finished look. I used a cloth adhesive called Stitch Witchery to join the seam. This product is applied with the steam of an iron. I used a wet cotton cloth and an regular iron set on Wool fabric. This is a hot iron, but I applied it to the cloth for only ten seconds. I pinned the cloth together with the adhesive in between the fold. I did this three times to create the seam. Study the diagram and you can see that there are three steps to this kind of seam.

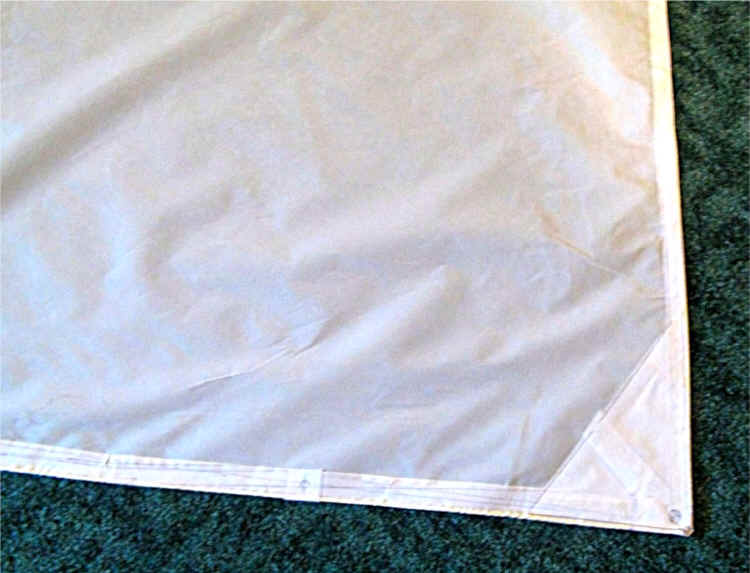
This was the result. The polyester looks transparent because of the moisture from the steam.
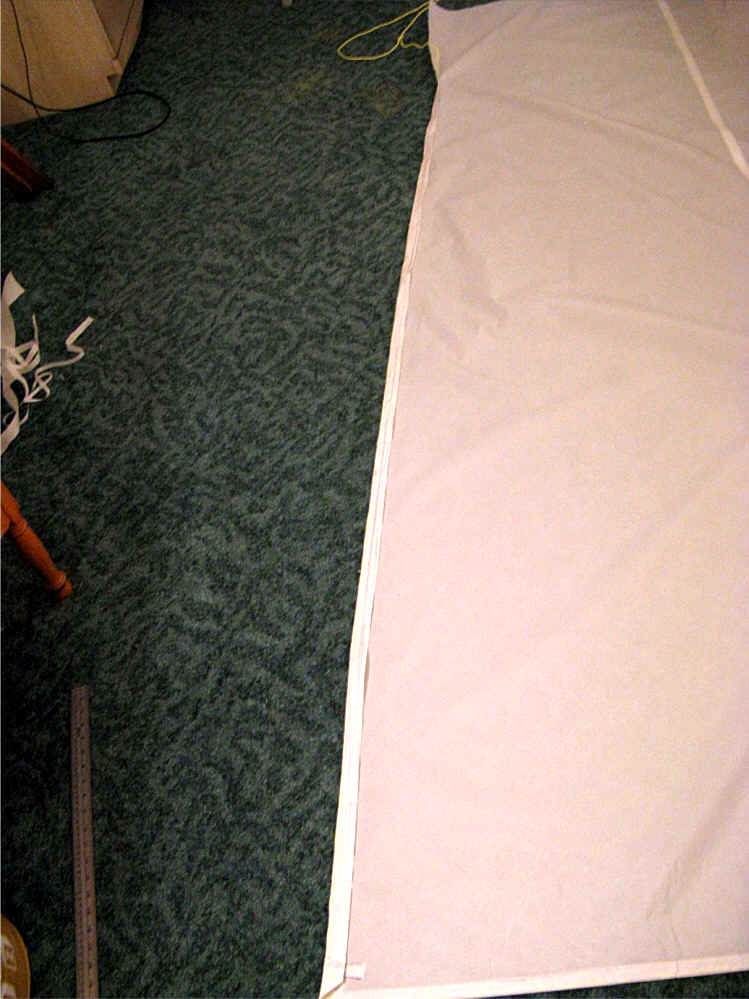
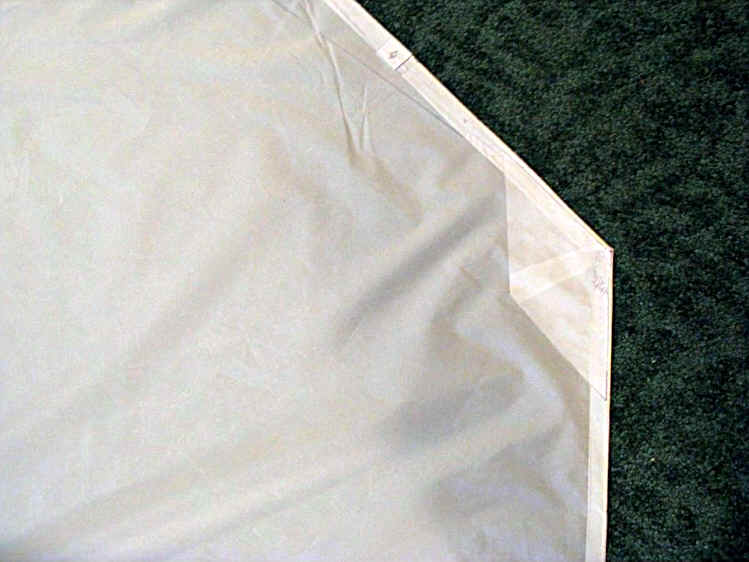
Since I knew I planned on having the seam run horizontally through the sail's center of effort, I now had a point of reference to layout the other dimensions of the sail. I started making the seam for the luff. I made sure the reference line for the luff was 90 degrees from the first seam.
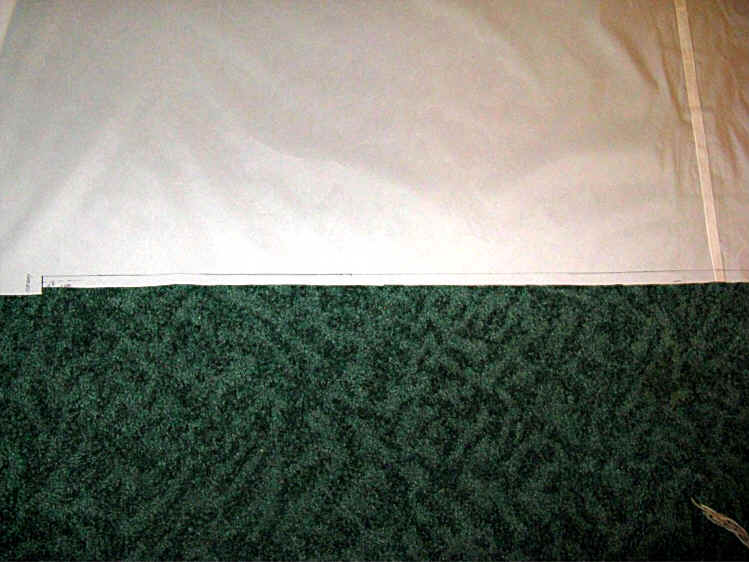
I placed a length of the adhesive on the flap you can see in the photo above, turned it over to the reference line and pinned the fold. I steamed the edge.
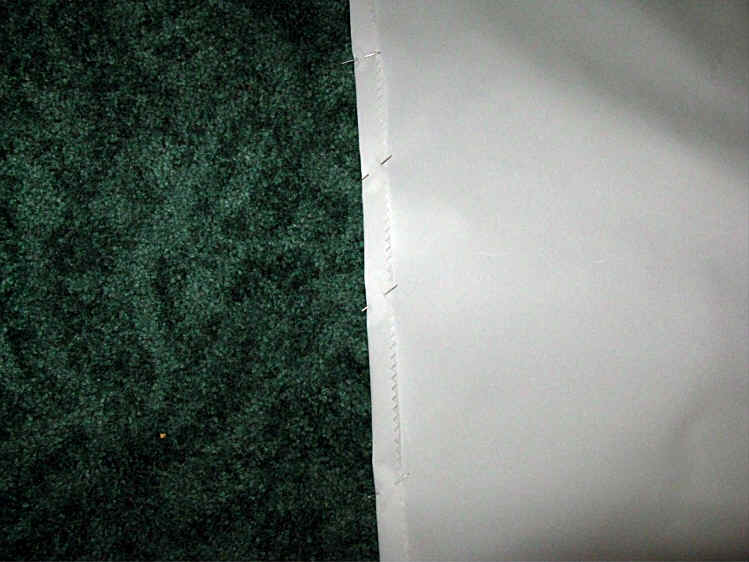
I wanted a length of rope to be inside each edge of the sail. To create this in the luff, I folded the edge I had just made over marine line. Once again, I pinned the fold in place to hold another length of adhesive.
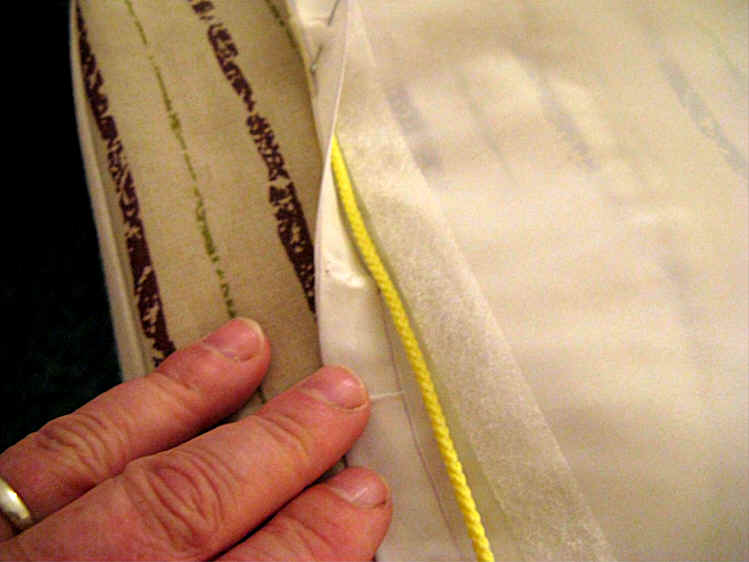
Since the adhesive bonds the fabric using the heat from the steam, I turned the entire sail over. This placed the newest layer of adhesive closer to the iron, as you can see in the photo below. You can also see how the pins held everything in place until I bonded the adhesive with steam.

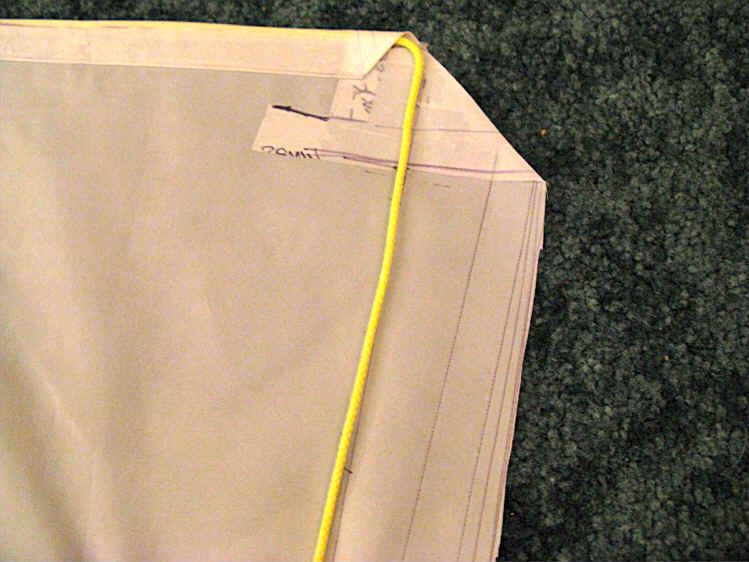
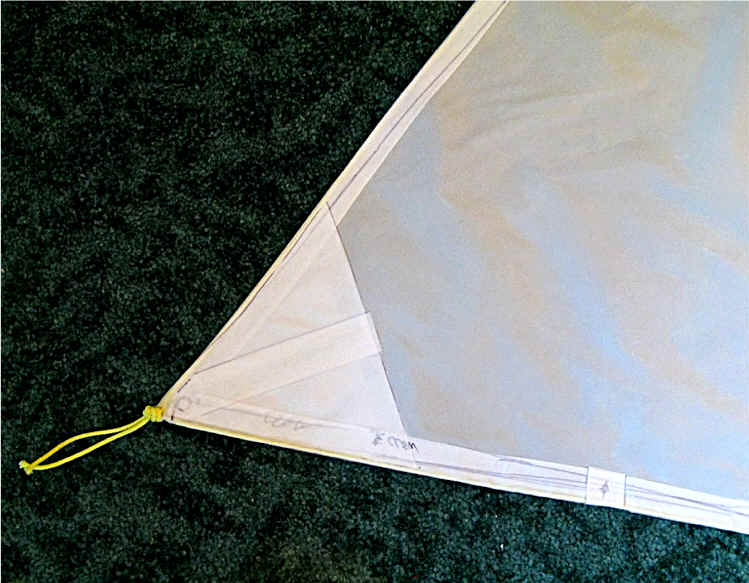
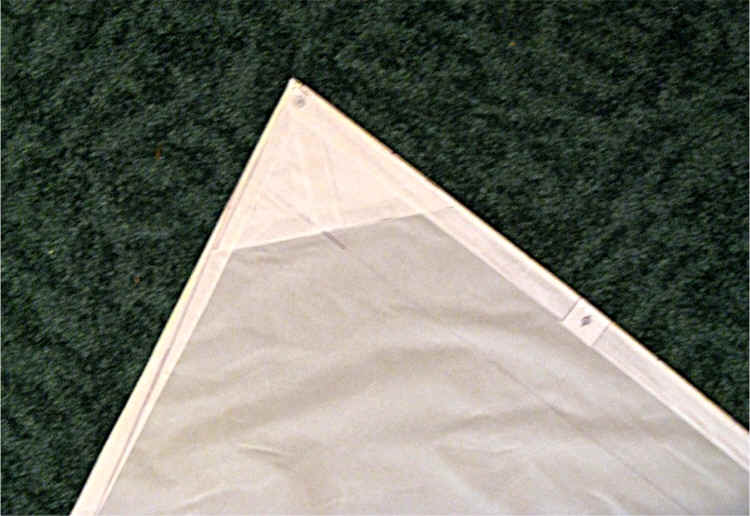
When I finished the luff, this is what the unfinished tack looked like. The yellow cord is laying on the reference line for the foot of the sail. You can see the extra material I needed to fold the polyester over the line. Each time I used adhesive and pinned the cloth.
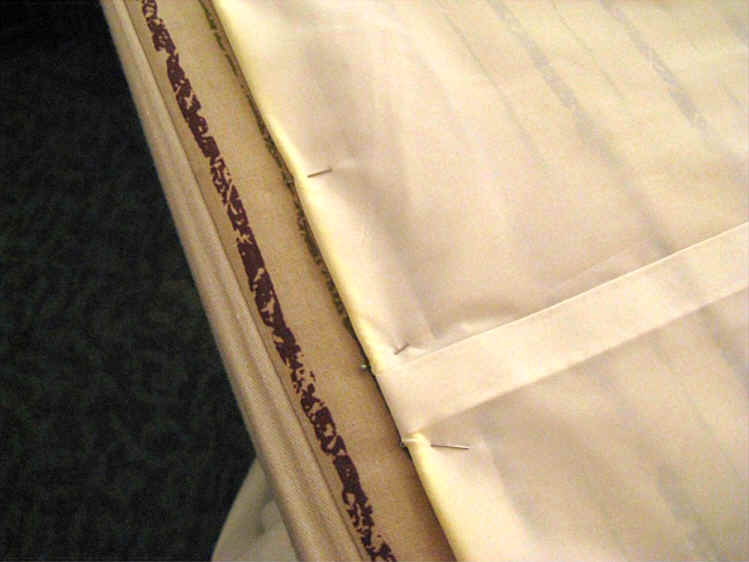
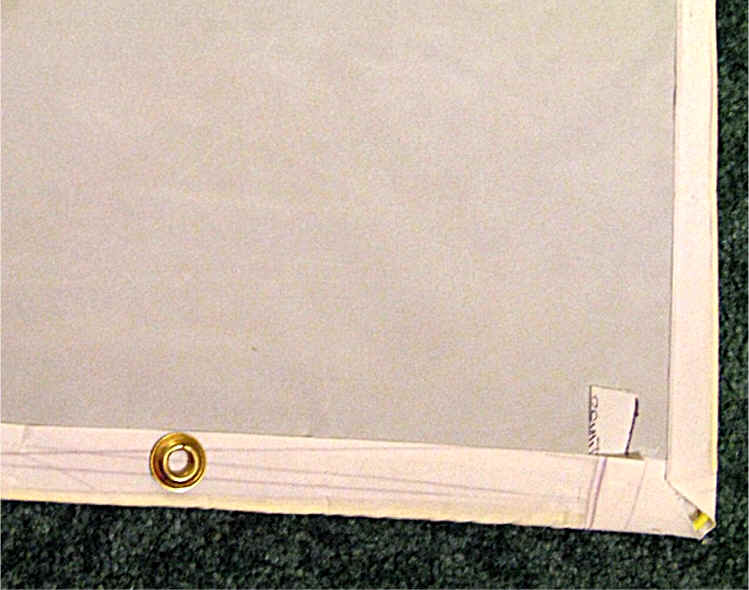
The following photo shows the foot of the sail pinned together before I steamed the edge for the last time. You might be able to see the convex shape I put in the foot of the sail.
This edge is a little wider to reinforce the fabric where grommets will be added to the foot.
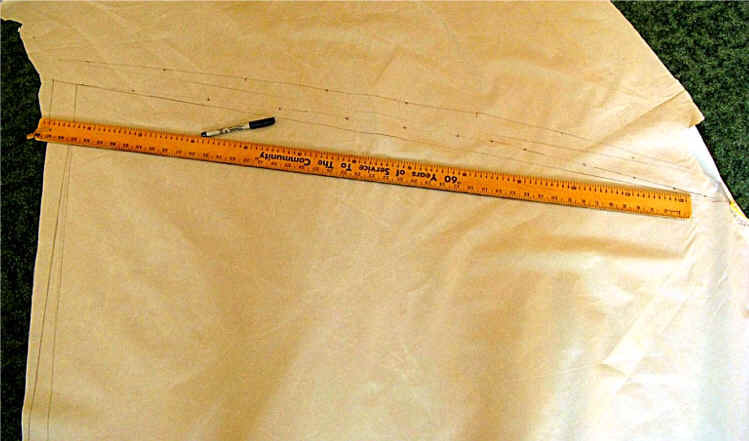
I proceeded around the sail making the sail edge for each part of the sail as described above. Here a photo with more detail about how I put a curve in top of the sail.
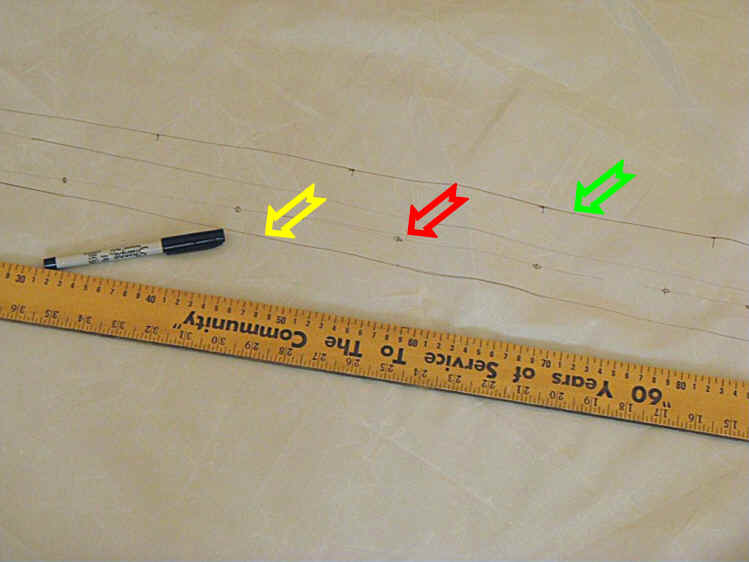
The next photo is an enlargement that shows my layout lines. The straight line (yellow), is the reference line I drew based on my sail plan. I drew a line with a convex curve (red) off of this reference line. Finally I added the amount I would need to fold back (green) to the convex line to finish the edge. This convex shape puts a fullness in the sail and helps it set in the wind as an airfoil. I put a similar convex foil in the foot of the sail and a concave line in the leech. These lines are shown as dotted lines in the sail plan drawing at the top.
After all the edges were formed, I reinforced the corners and the site for each grommet. Here is the clew. I brought the line in the sail edge out the end of the clew.
This is the tack.
This is how I reinforced the throat.
Lastly, this is the peak of the sail.
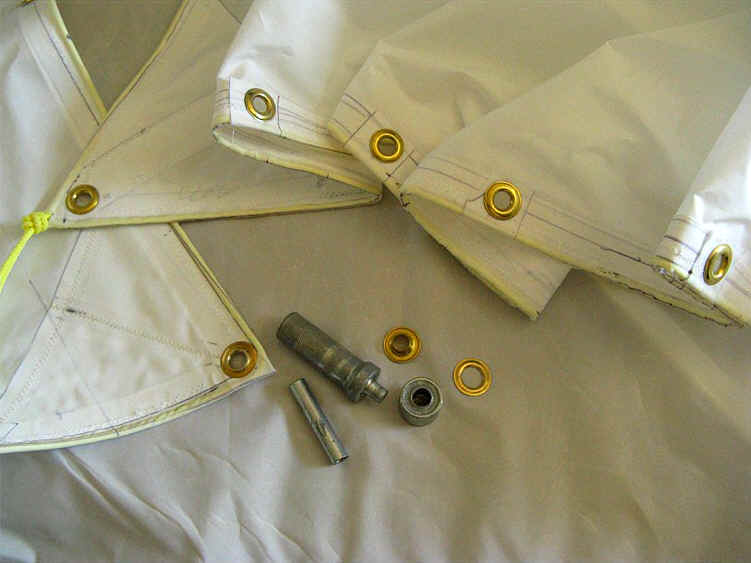
I have known how to sew ever since I was a boy. That knowledge came in handily because the next step in making the sail was sew all the seams. Then I added the grommets. These simple grommet kits can be purchased at a hardware or sporting goods store. I spaced the metal grommets every 12 inches at the places I had previously reinforced and marked. Up to this point, I have put approximately 20 hours into making the sail.
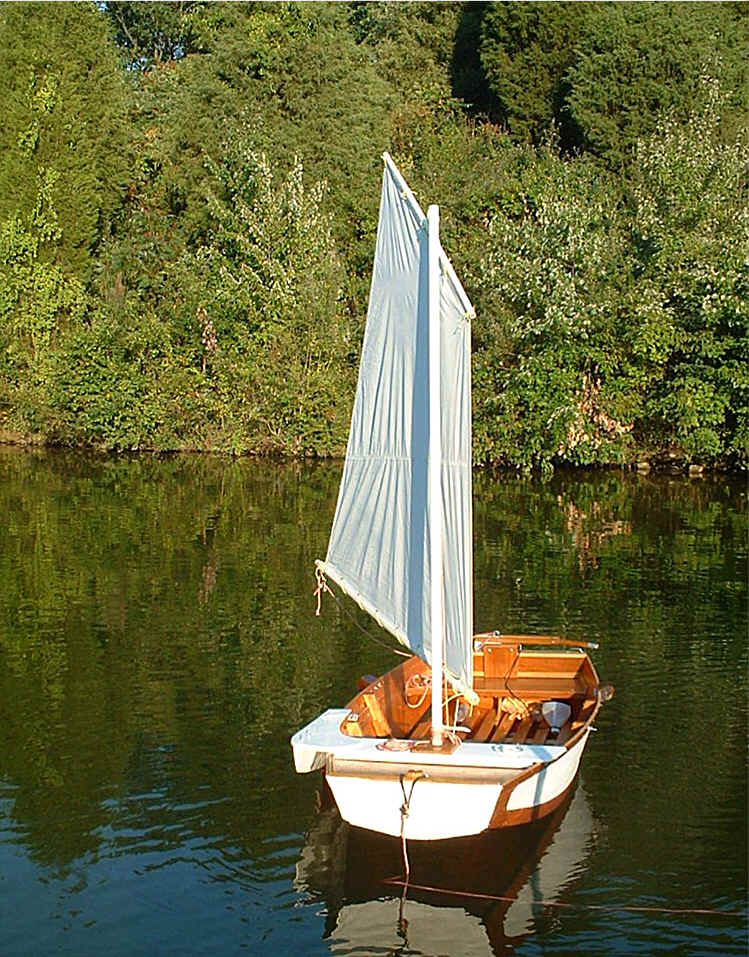
Starting with the stern, the following photos show a view of each quarter.
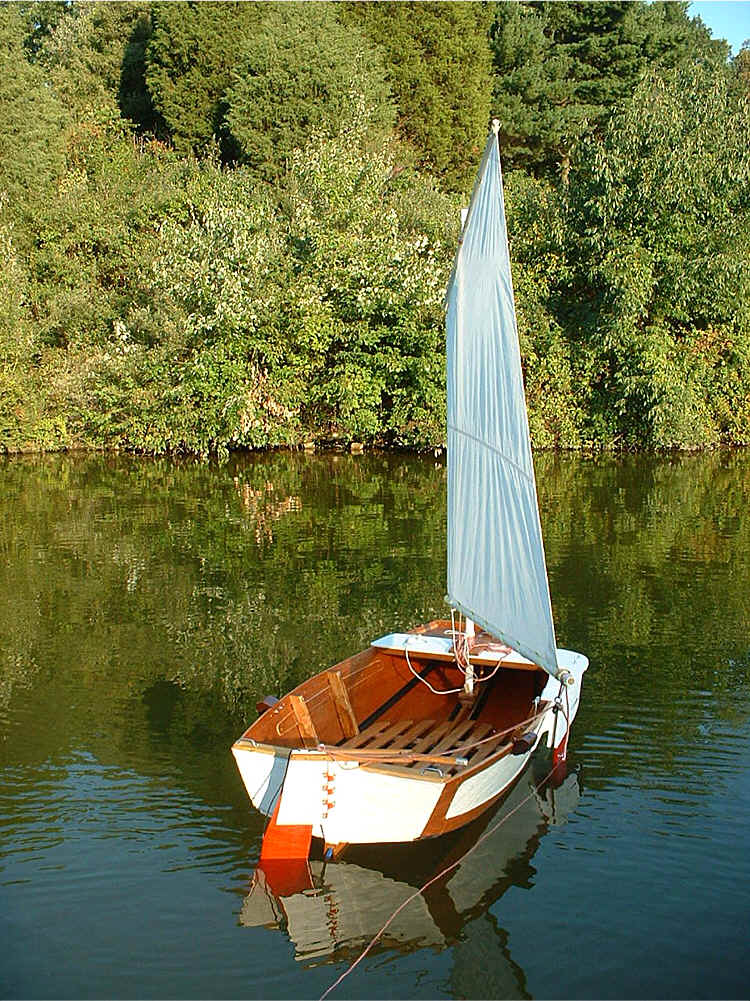
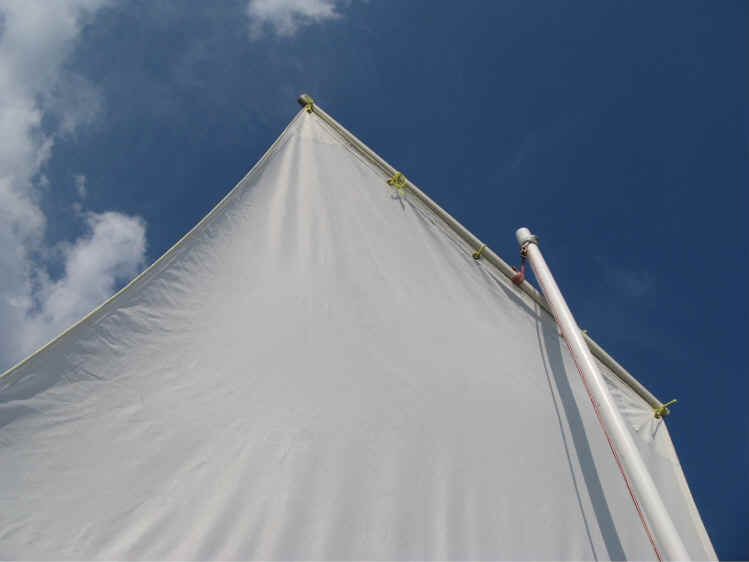
The following photo shows the sail details, grommets, reinforcing, halyard, tack, yard and boom. It also shows the leeboard in the down position.
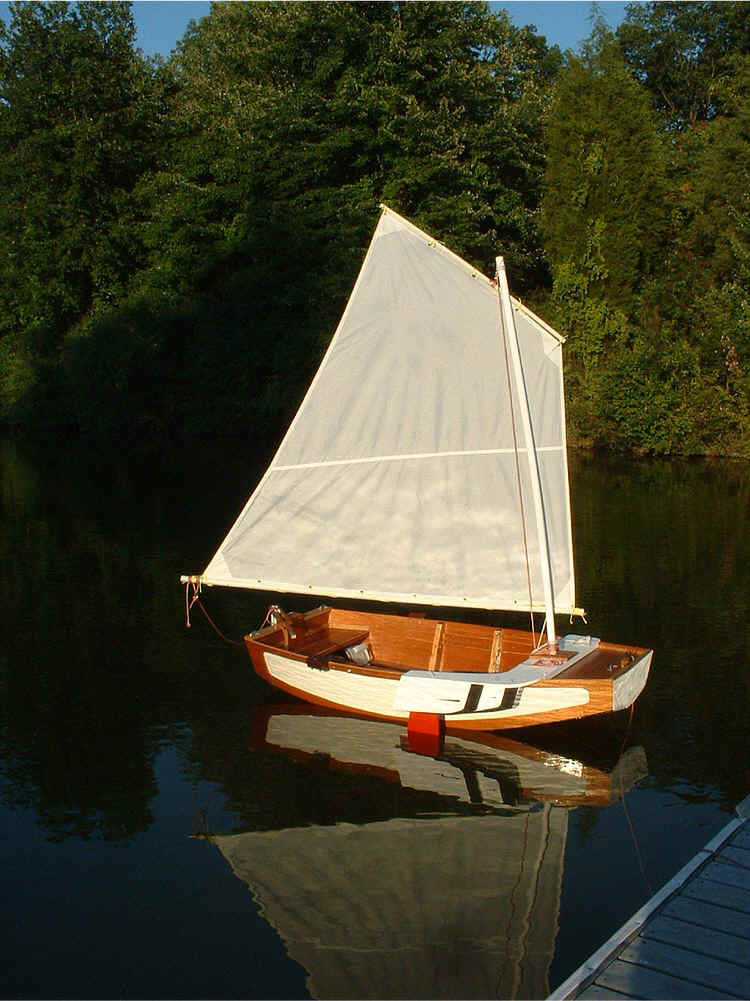
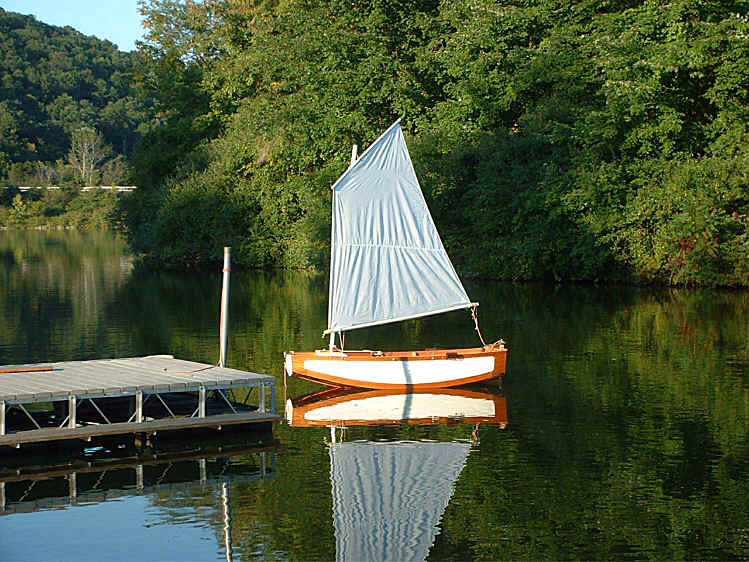
This picture shows the proportion of the small to the size of the hull.
The sail in a light breeze.
An easy way to tack the sail to the mast.
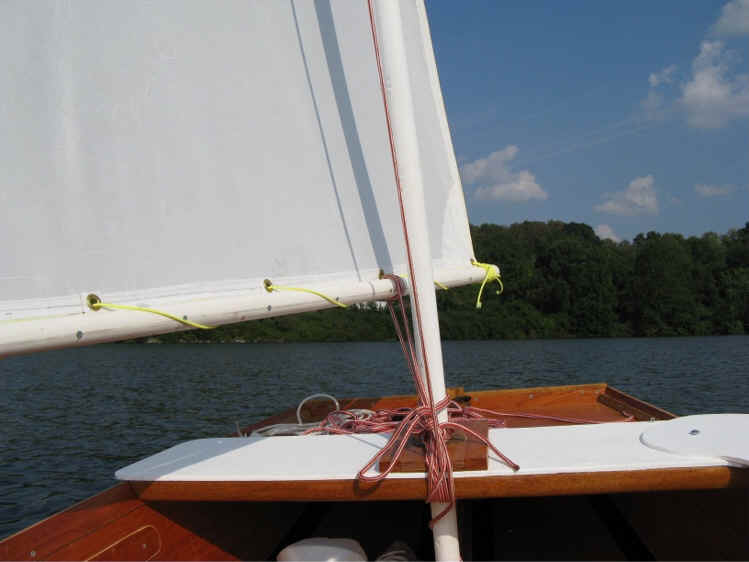
This small folding dinghy really sails. Click on the following video to view.
Assemble the Barquito Gallery of Pictures
1 Basic Boating String Theory 2 Sewing the Hull 3 Keeping the Water Out
4 Center Thwart 5 Bow 6 Foredeck 7 Transom 8 Oarlocks / Oars 9 Skeg
10 Conversion to Sail 11 Leeboard 12 Rudder 13 Mast and Spars 14 Sail and Rig
Other Folding Boats On line Sailing School Boat Building Links