 |
|
The story and photos of my folding boat © 2007 by Man of the Cloth Productions.
With the bow completed, I turned to constructing the transom. I built a simple pine frame. The outside dimensions of the frame matched the inside dimensions of the transom area of the hull. The angles of the pine frame also matched the angles of the hull with respect to the plane of the transom. Some of these angles are visible in these pictures.
Two layers of insulation fill the inside of the transom for added emergency flotation.
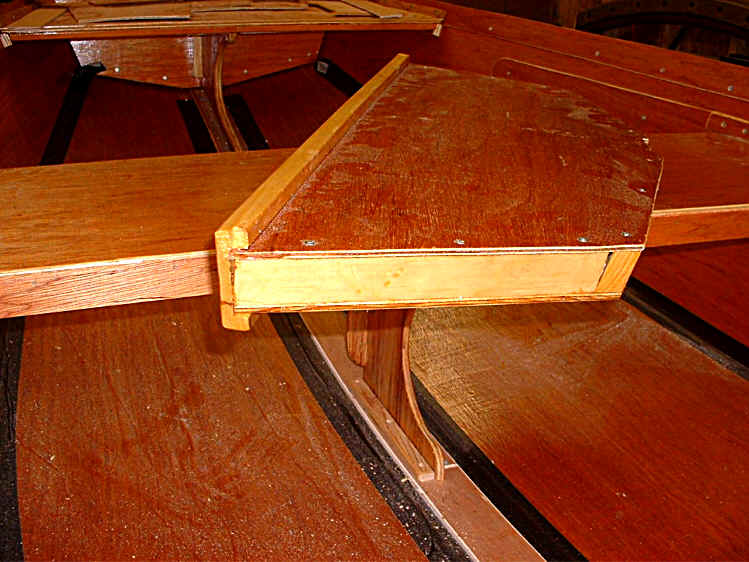
I added a pine trim cap to the assembly which was glued and screwed together.

The picture shows how the transom fits very nicely. The screws in the center of the transom mark where I installed a center post inside the transom while I assembled its frame. Later on the center post will support the connection to the rear set support. With the transom assembled, I moved on to other pieces that interlock with the transom at the stern of the boat.
I used some of the lamination scraps to form a support for the side of the rear seat. I added one on each side. Each one was fastened to the hull with glue and screws driven from both sides of the hull.
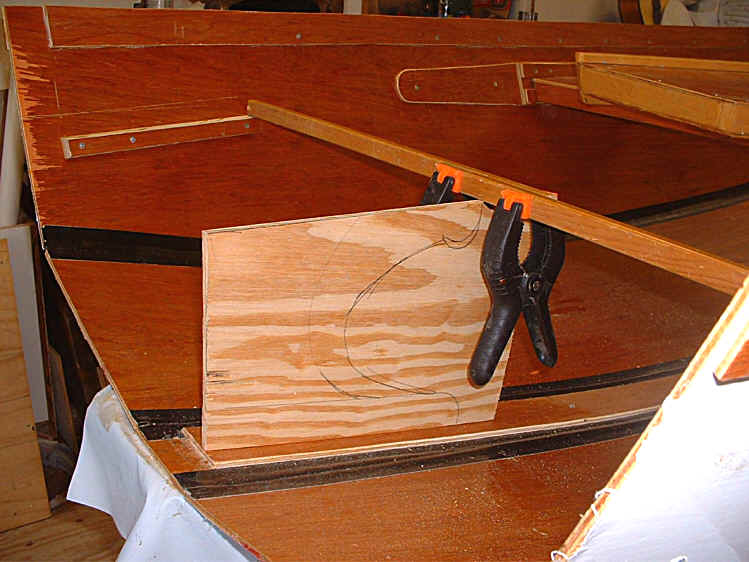
This picture shows how I marked the height of the rear seat support. This support will connect to the transom and also connect to the center keel plate.
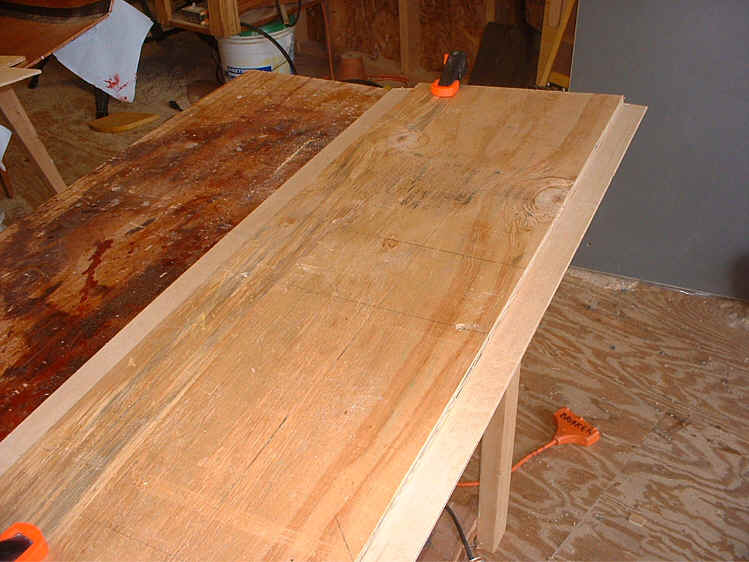
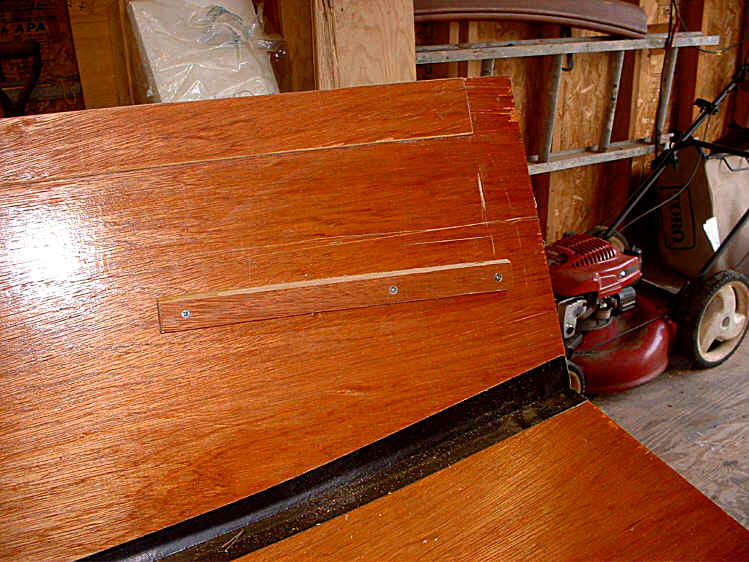
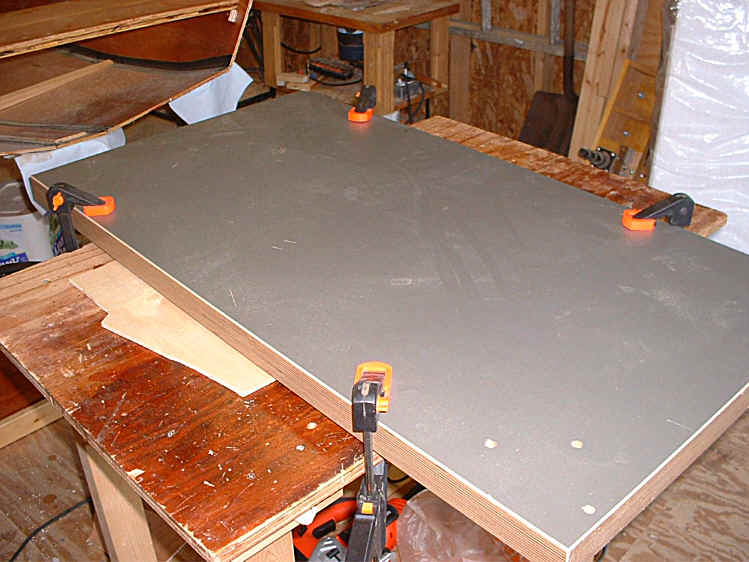
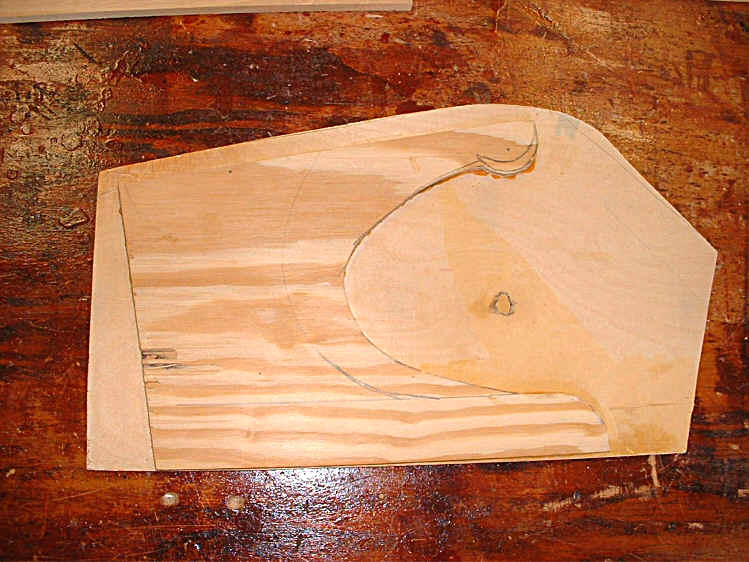
I laminated pieces of luan to a piece of plywood to make the rear seat. In this picture, it is upside down showing the plywood that is already cut to the correct width and the correct curve for one end of the seat.
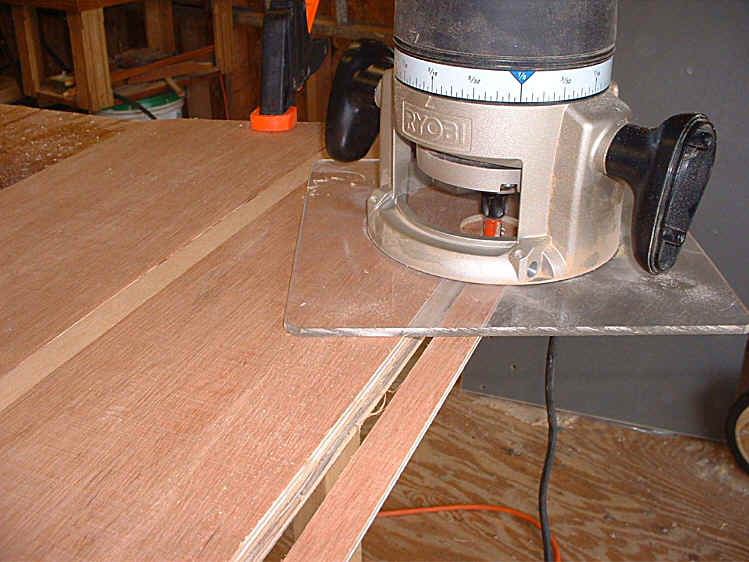
I used the router with a trim blade to cut and match the edge of the luan to the plywood beneath. For me, this is a quick and easy way of building up a laminated fixture.
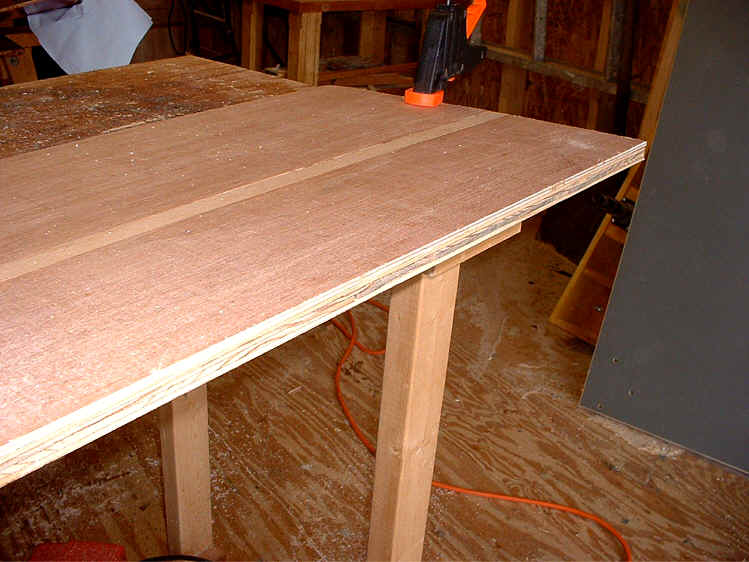
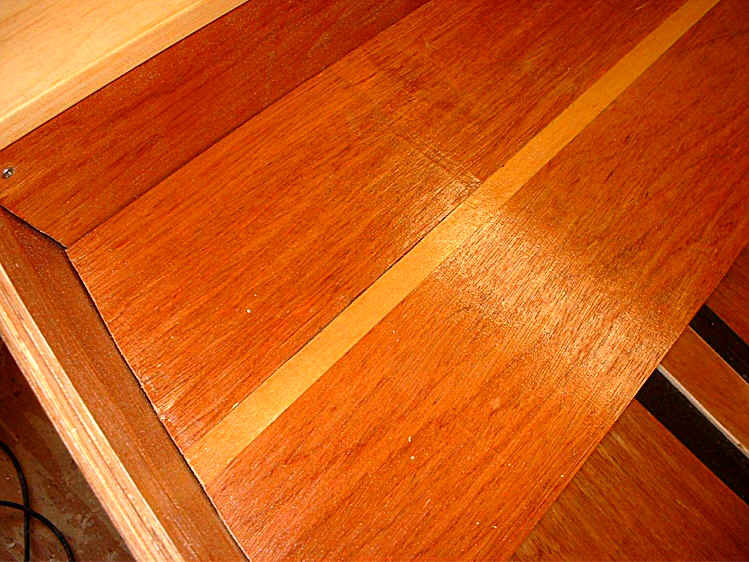
The router gives a very nice finished edge. Notice how I tried a very simple inlay of a lighter strip of luan in the center of this rear seat.
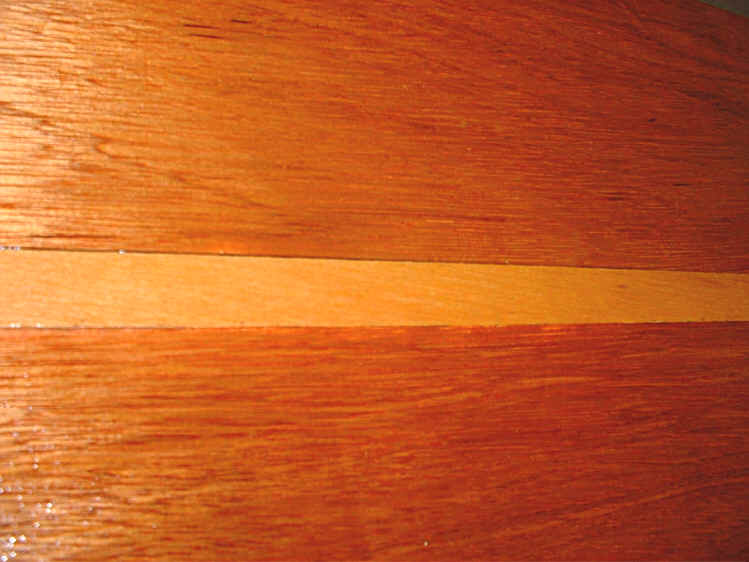
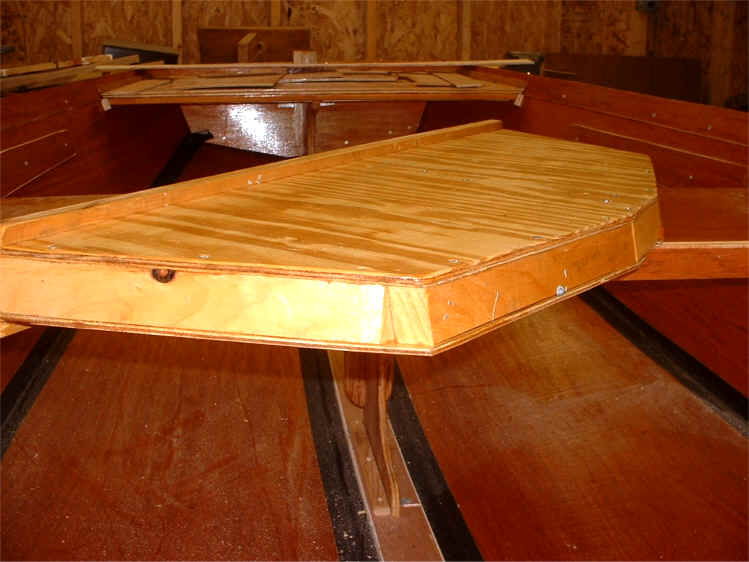
After a coat of urethane it looked like this. Not too bad for an amateur.
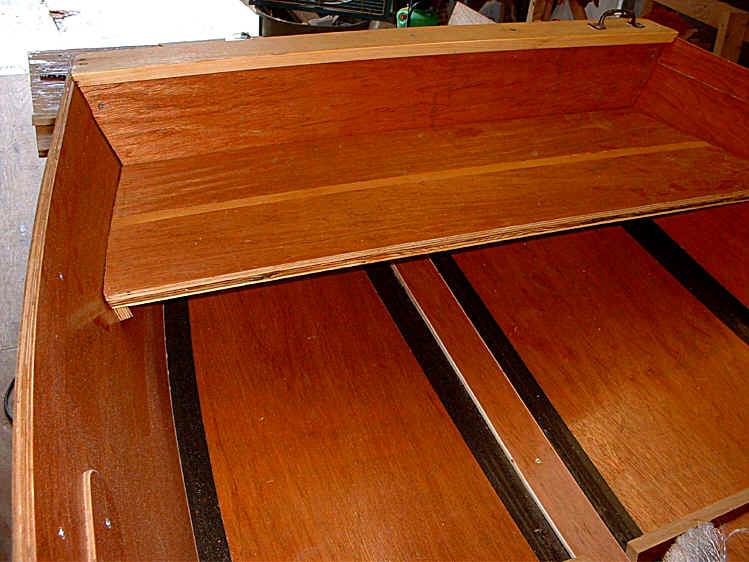
This is the view of the transom from near the center thwart. My camera distorted this shot by creating a slight "fish eye" effect.
I added some trim pieces using some mahogany scraps.
This photo shows the press I rigged to put constant pressure on the plys when I laminate an assembly.
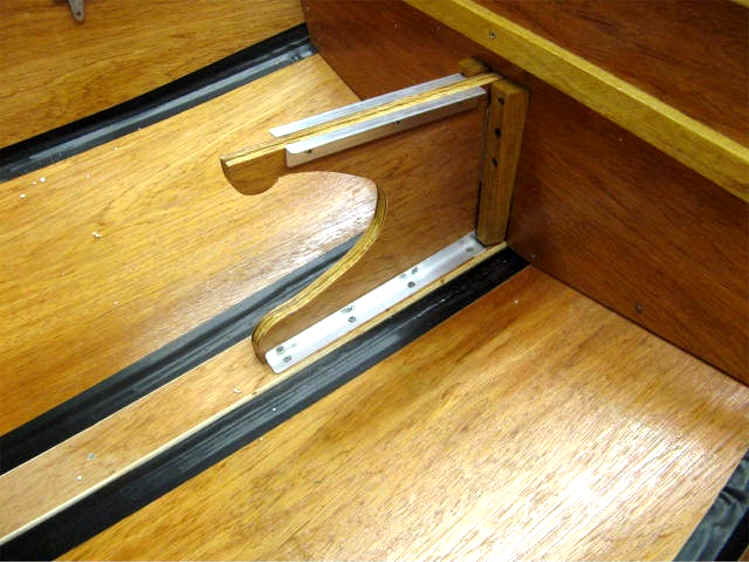
This photo shows the center stern post that will support the rear seat support. I glued and press-dried luan to one side. A previous photo showed how I marked the height of the top edge. When I double checked it for fit, I found that the front edge of the support was low. This photo shows how I offset the luan at the bottom by the amount I needed to gain at the top. Using the router, I trimmed this piece very quickly, then laminated the final side of the support.
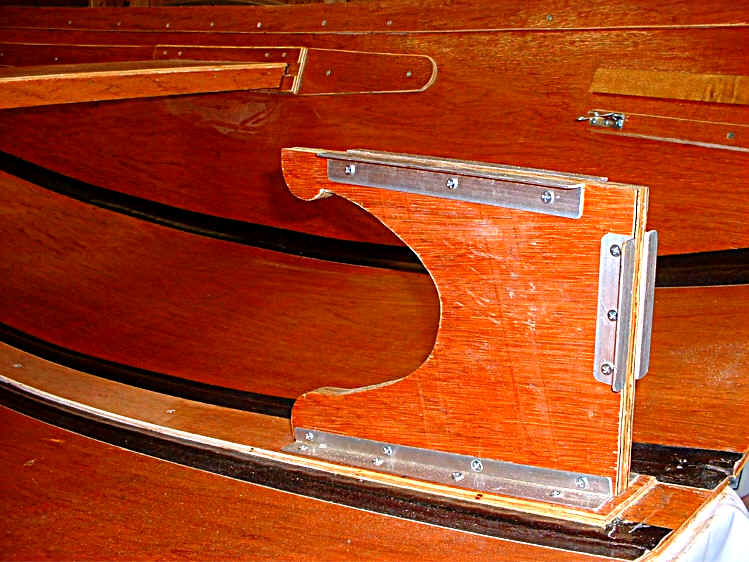
The stern post was fastened to the keel plate. I also fastened aluminum angle material to the post with 1/2" screws. I cut rabbet slots in pieces of wood trim. The aluminum will slide into these T- shaped slots to form a rigid connection between the stern post, the rear seat and the transom.
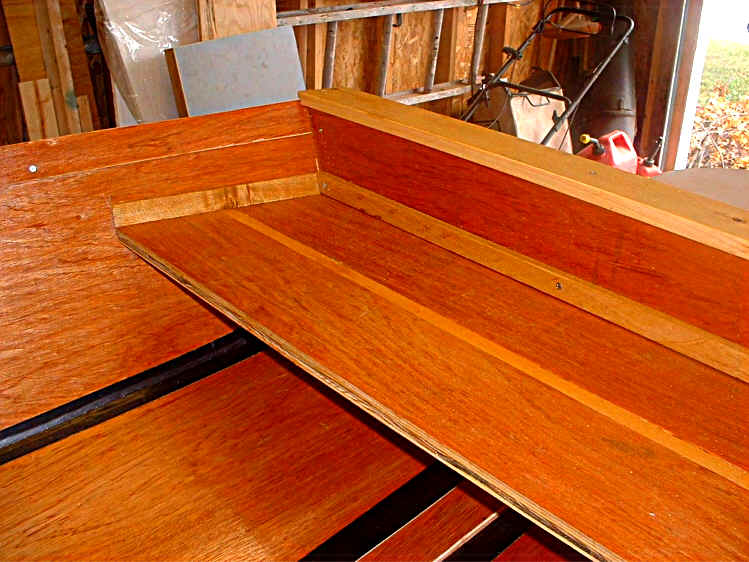
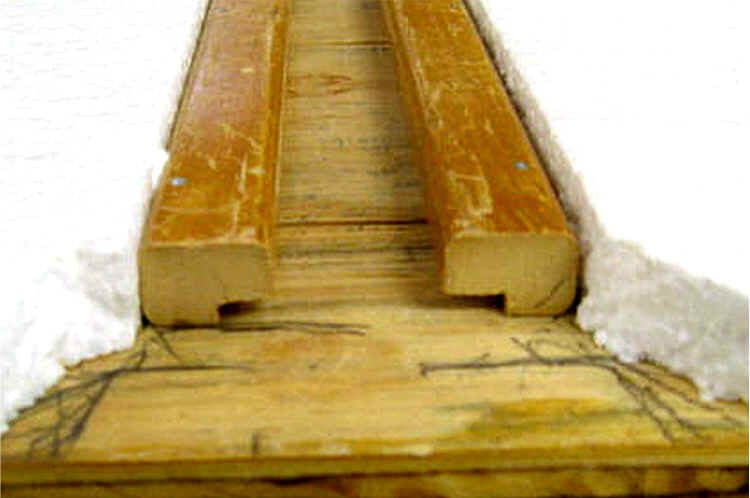
This photo shows the T-slot trim pieces on the transom.
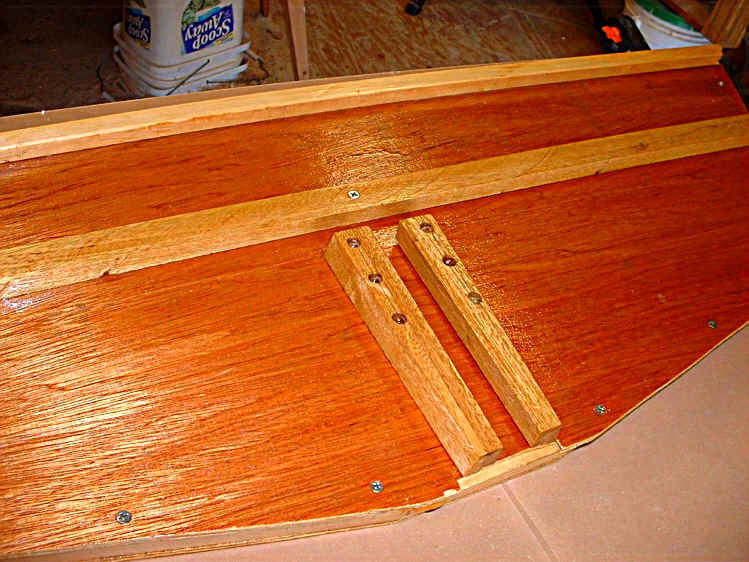
The photo above shows the transom after it was dropped in place. You can see how the aluminum angle material toward the stern, fits into the slot in the transom trim pieces. The following photo shows a similar T-slot under the rear seat. In this view the seat is upside down. It also shows I added insulation under the rear seat. The aluminum on the top of the stern post slides into this slot. When the seat is in place it locks the transom, preventing it from being lifted out.
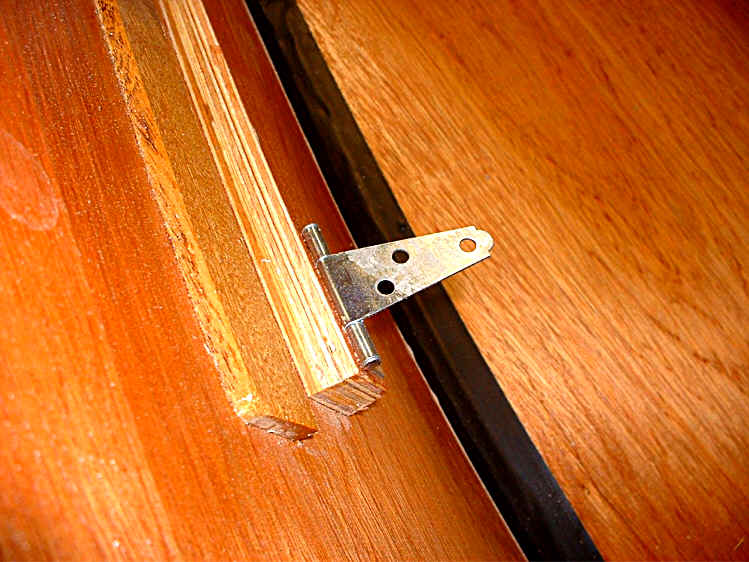
I installed small T-strap hinges on each side of the rear seat support. A small pin drops through the rear seat into a hole in this strap hinge, locking the seat and the entire stern assembly in place.
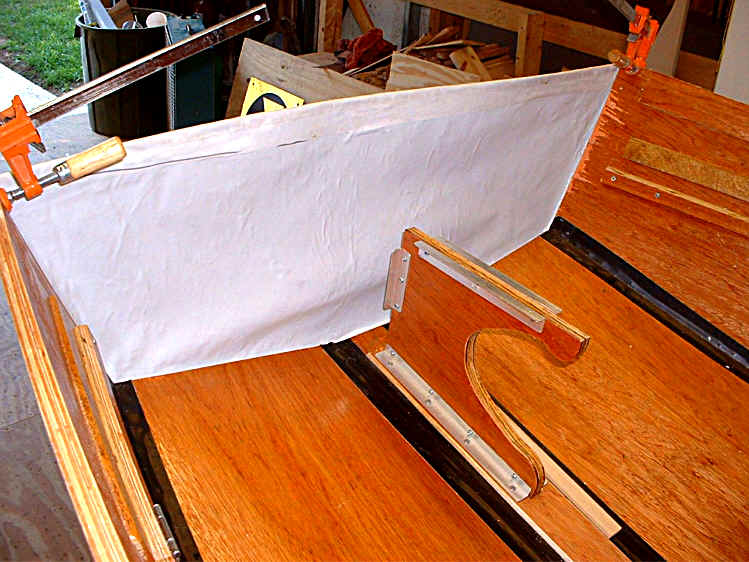
I cut the PVC cloth to fit the transom opening, allowing for a three inch selvage to fit under the batten plates.
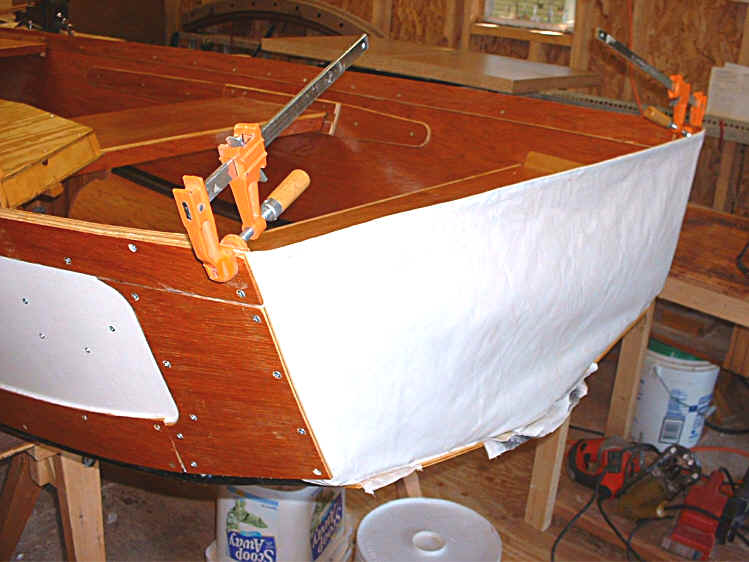
This is an inside view. I worked the top ends of the cloth under the rub rail ends, which were unglued. Once they were in place, I caulked the PVC and clamped it in place. I drove screws through the rub rail to permanently hold the cloth.
I worked the cloth under the keel plate, then caulked it so it would seal to the bottom of the hull. I smoothed out the PVC cloth on the bottom, then applied more caulk to seal the hinge cloth on top of the PVC. The final step was to fasten the battens.

Working from below, I screwed the bottom battens in place. I left the boat alone for 5 days so the caulk could cure undisturbed. All I need now are oar locks, oars and I am ready to row!
Assemble the Barquito Gallery of Pictures
1 Basic Boating String Theory 2 Sewing the Hull 3 Keeping the Water Out
4 Center Thwart 5 Bow 6 Foredeck 7 Transom 8 Oarlocks / Oars 9 Skeg
10 Rudder 11 Leeboard 12 Sail and Rig
Other Folding Boats On line Sailing School Boat Building Links