 |
|
The story and photos of my folding boat © 2007 by Man of the Cloth Productions.
The stem piece is a critical structure in the folding boat. It supports the foredeck, stiffens the hull, stabilizes the interlocking bow plate and forms the bottom of a simple mast step.
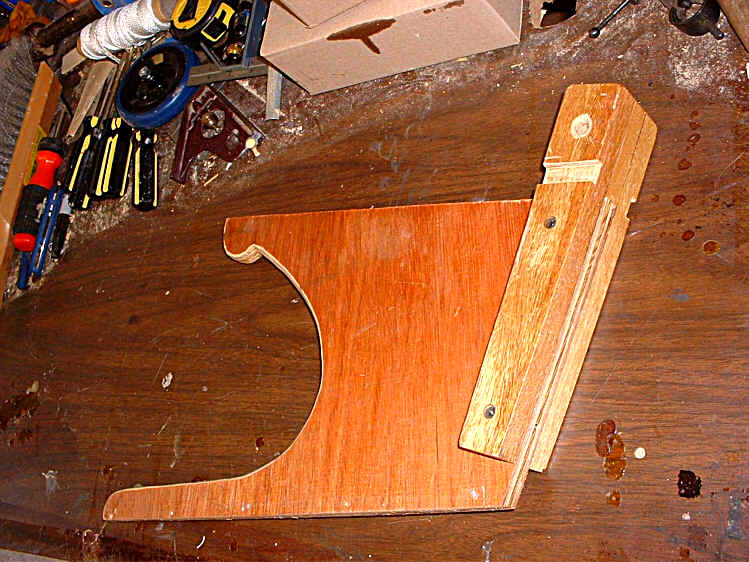
I laminated plywood and luan together with waterproof glue. After careful measuring and trial fitting, I cut out the basic shape. Pieces of scrap wood were fastened to the bow edge of the stem. Notice the dado I hand-cut into the top of the stem.
The foredeck will slide into the dado. A rope handle will fit into the hole in the top of the bow stem. Screws through aluminum angle fasten the stem piece to the hull, keeping it permanently in place. Believe it or not, the hull sides will fold around the stem and even the post.
I call this a foredeck instead of a seat because the balance of the hull would be thrown off if an adult sat in the bow. Also if used as a seat when sailing, the mast and sail would be in the way. Later photos will show that in comparison to the other seats it is located higher in the hull and therefore less stable as a seat.
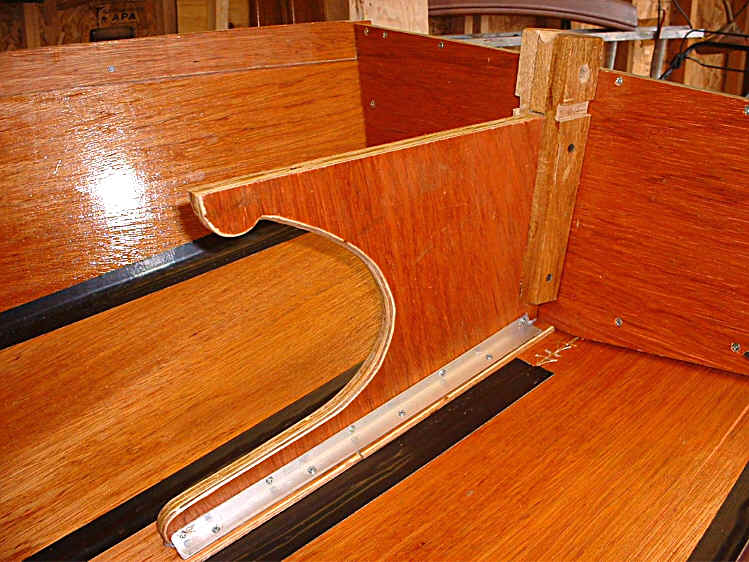
After the foredeck was fitted, I attached support brackets to hold the sides. Previously, I mentioned that I had cut an inch off the top of the hull. I used a portion of this as the bottom support. Scraps from the stem post were used for the bracket on top.

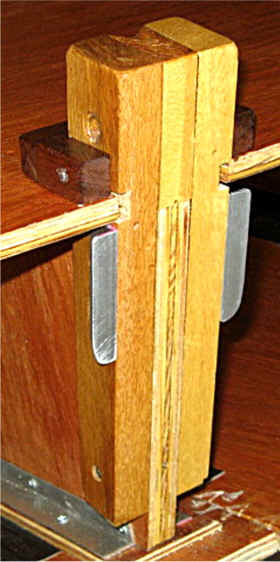
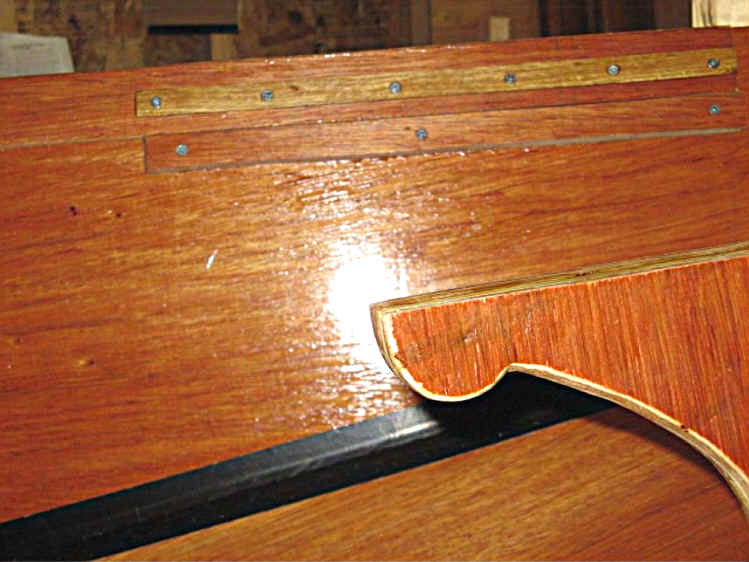
Next I made a trim piece out of some walnut that I had. Along with the side supports, this trim also keeps the foredeck firmly in place. The second photo above shows two pieces of angle aluminum added to the stem post. The pieces will mate with others on the bow plate to add even more stability to the stem assembly. I used a file to round off the bottom edges of these pieces so they wouldn't cut the PVC bow fabric when the hull is folded.
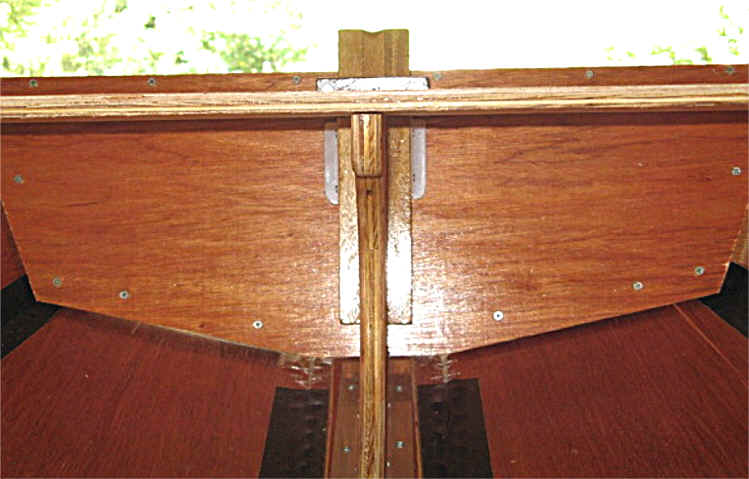
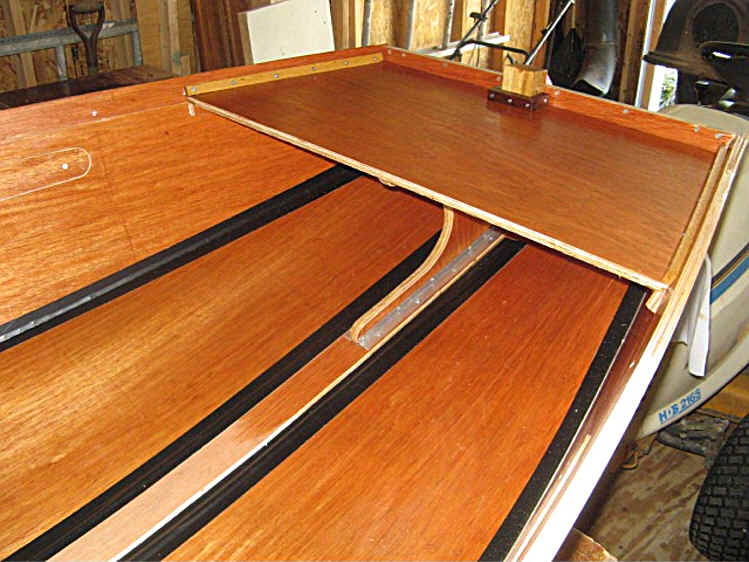
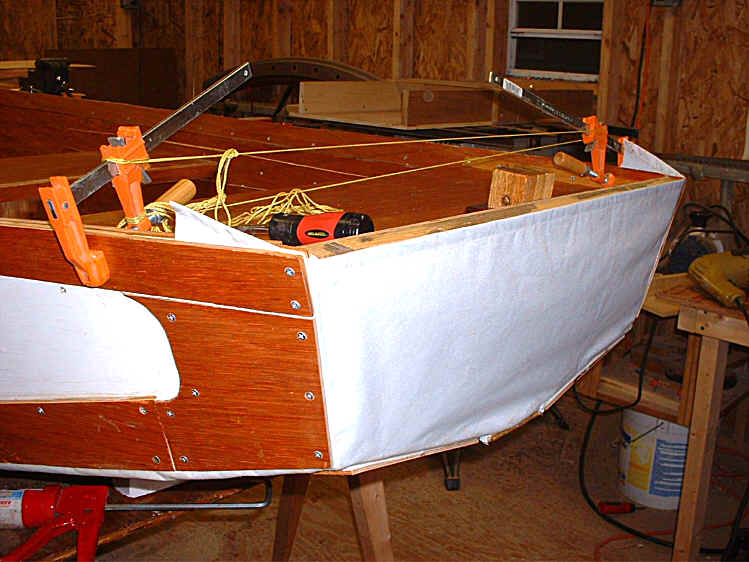
Here is a view from the center thwart. This shows how the top of the foredeck is really close to the top edge of the gunwales. This completed all the mechanical fittings for the bow. The next step was to install the PVC fabric on the bow.
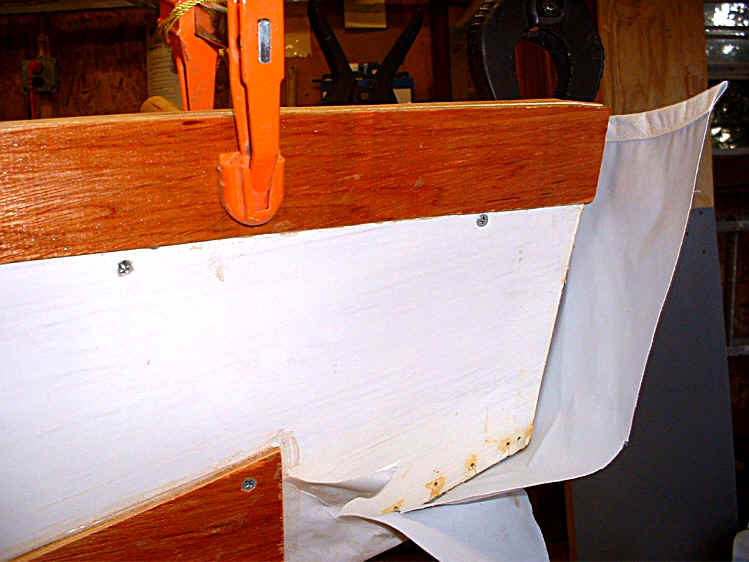
I turned the hull over and put the PVC fabric under the first layer of the exterior keel plate. I fastened it with caulk and screws. Then I turned the hull right side up and began to fasten the fabric to the sides of the hull at the bow. The picture shows what it looked like at this point.
The fabric from the bottom was caulked and stretched tight first.
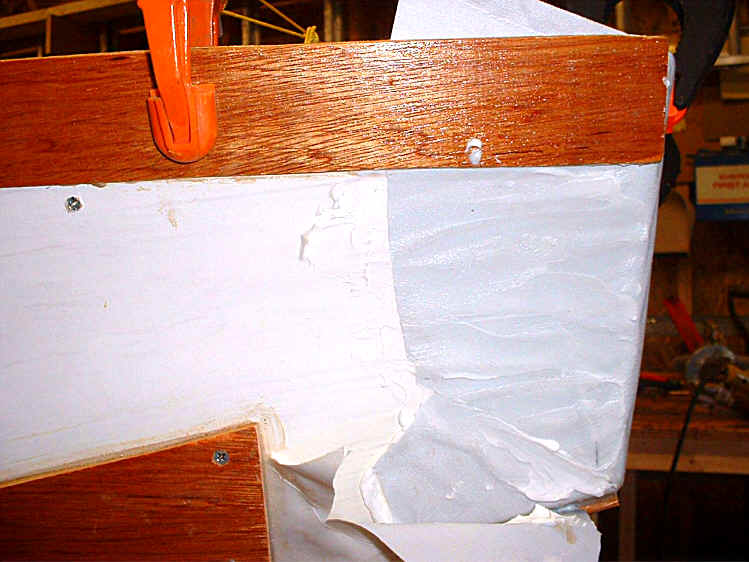
Next the fabric from the front of the bow was caulked and stretched tight. Notice the top edge was pulled under the leading edge of the rub rail, which was not yet fastened to the hull at the bow.
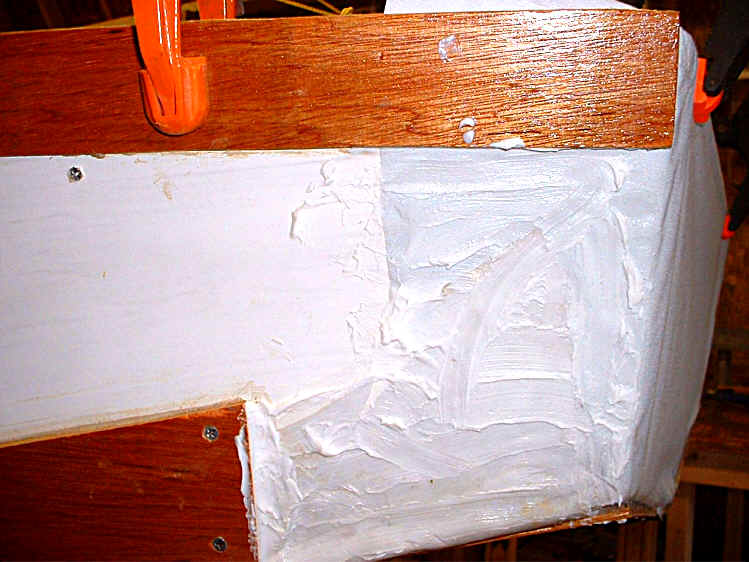
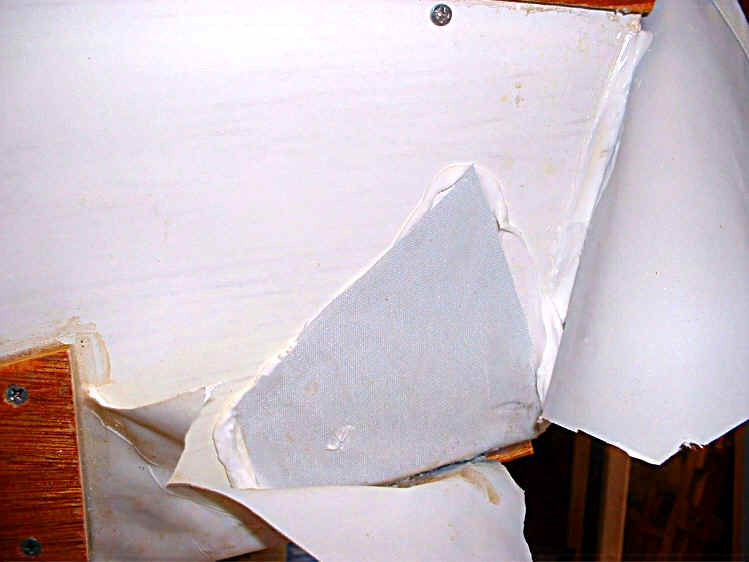
Then the fabric from the hinge was caulked and pulled flat and smooth. Looking back on this, I think it would have been better to caulk this piece first and then cover it with the fabric from the bow. I'll do it that way at the stern transom.
The bow batten plate was added and fastened with screws. With the foredeck in place, the clamps and string held the hull tightly against the bow so I could get a tight fit of the fabric during this part of the assembly.
Assemble the Barquito Gallery of Pictures
1 Basic Boating String Theory 2 Sewing the Hull 3 Keeping the Water Out
4 Center Thwart 5 Bow 6 Foredeck 7 Transom 8 Oarlocks / Oars 9 Skeg
10 Rudder 11 Leeboard 12 Sail and Rig
Other Folding Boats On line Sailing School Boat Building Links