 |
|
The story and photos of my folding boat © 2007, 2008 by Man of the Cloth Productions.
Some rudders are short and squat like a barn door, others a longer but narrower. I am making a longer rudder. If I find that it is inconvenient, I can always cut it down later on. Some rudders are fixed in a down position, others kick up if an underwater obstacle is encountered. The problem with a wooden kick-up rudder is keeping it in place, down in the water.
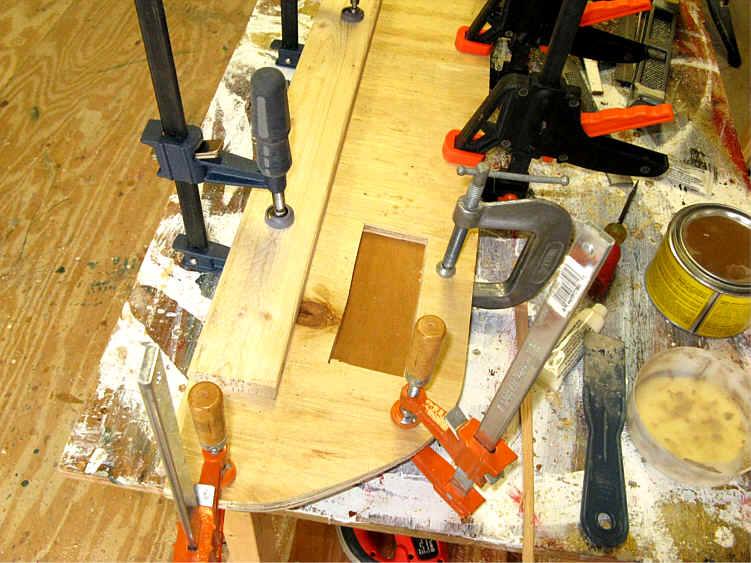
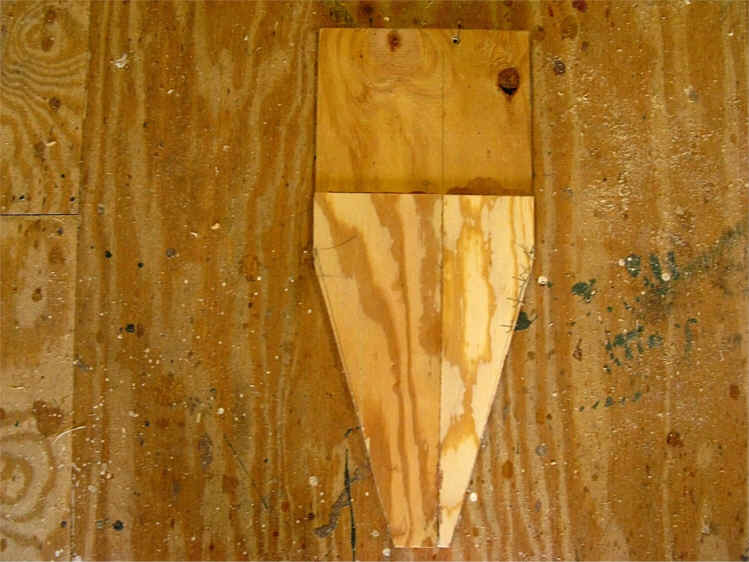
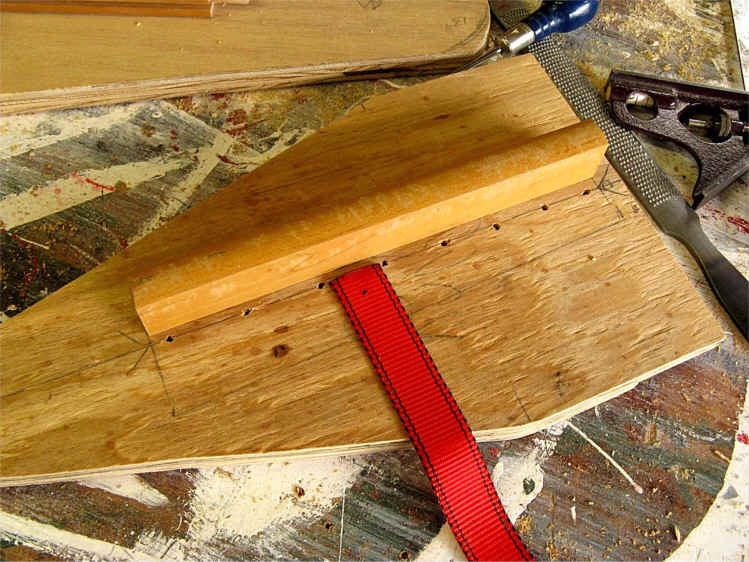
I decided to put a sink weight in the lower end of the rudder blade. I started with a piece of plywood and cut out the outline of the rudder. I traced the same shape on to a piece of 1/4" plywood. Then I cut out a box shape in the first piece. Next I glued and clamped the 1/4" piece to one side of the rudder stock. This helped stiffen the blade and also served as a bottom for the weight box.
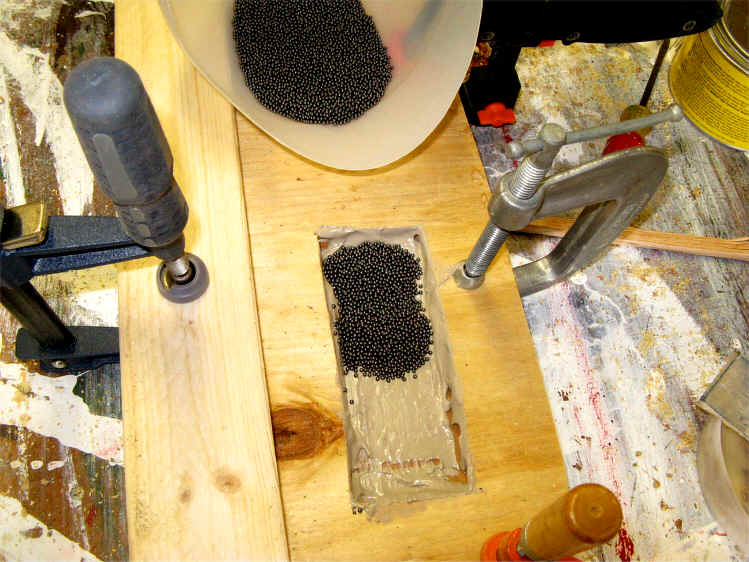
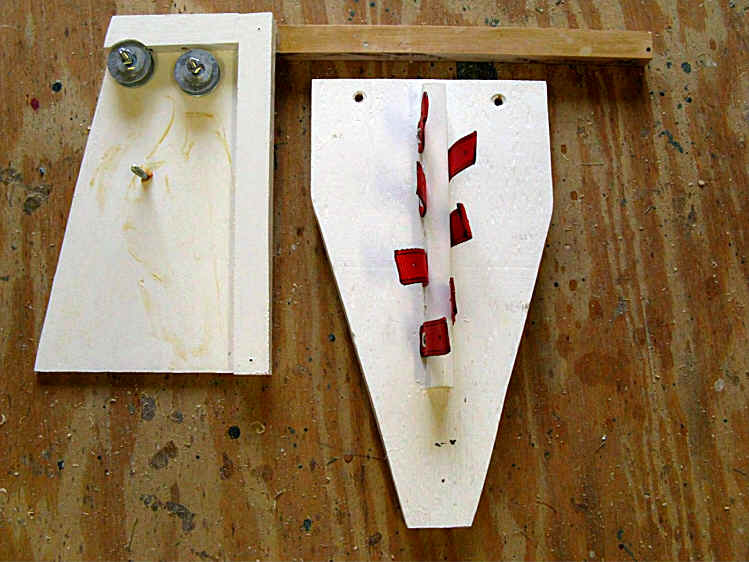
I didn't want to melt lead, so I mixed up some wood filler epoxy, placing a thin layer in the bottom of the weight box. I spread a thin layer of bird shot in the box, pressing it in to the epoxy bed.
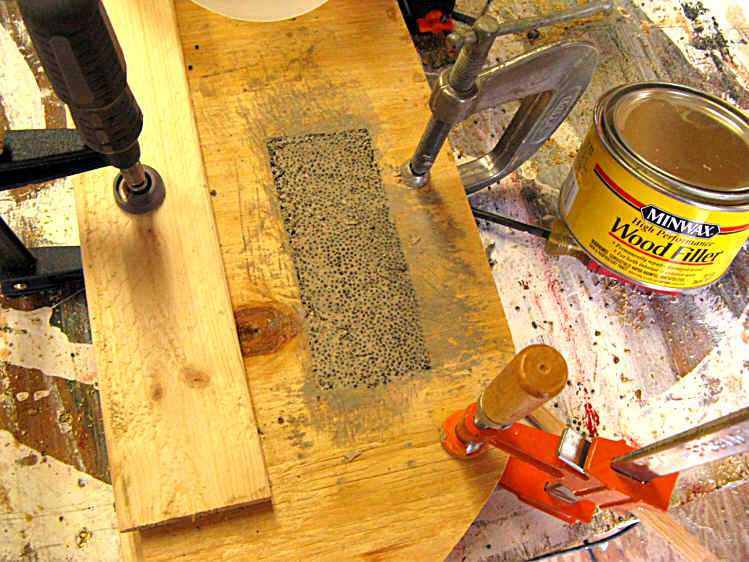
I mixed up more epoxy and this time I added bird shot to the mix. I spread the mix into the box, leveling it and pressing it firmly into the previously applied shot with a putty knife .
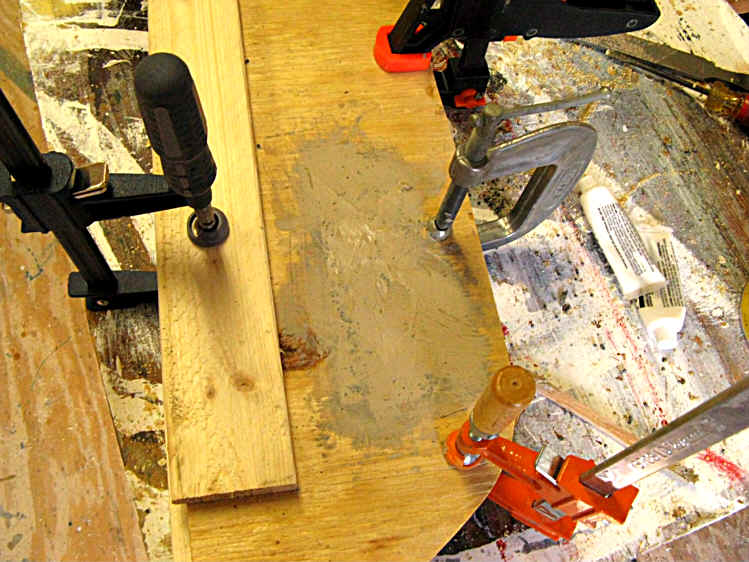
After it dried, I added a final top coat.
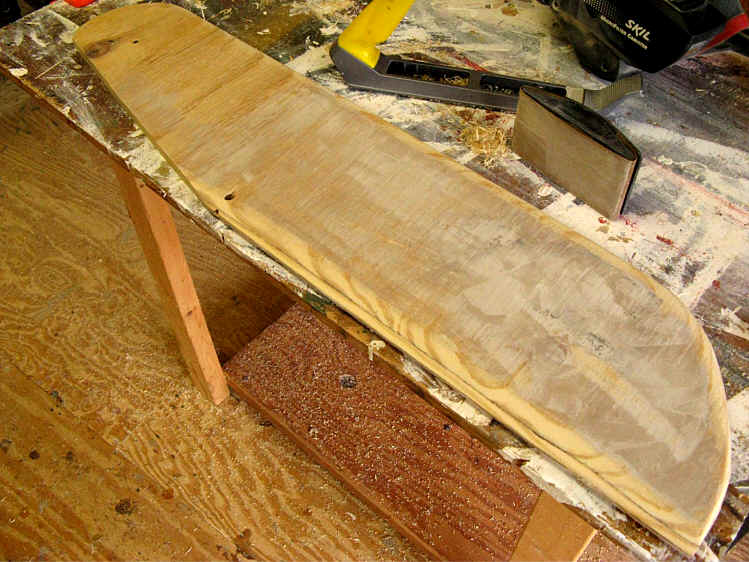
Here is the rudder blade after I shaped the leading and trailing edge. The tail, which goes in the water is shown in the lower right; the pivot, which mounts inside the rudder case, is in the upper left. The taper near the pivot matches the shape of the rudder case. The rudder's trailing edge is closest to the viewer.
I looked around my shop and found some scraps of plywood to make this rudder mount. I glued 1/4" plywood to the piece pictured below. The tapered bottom will rest on the extension of the skeg. The offset created by the 1/4" plywood will fit under the stern lip of the transom.
I glued up a piece to fit the inside lip of the transom too. I cut a block out of pine to fit between these two pieces.
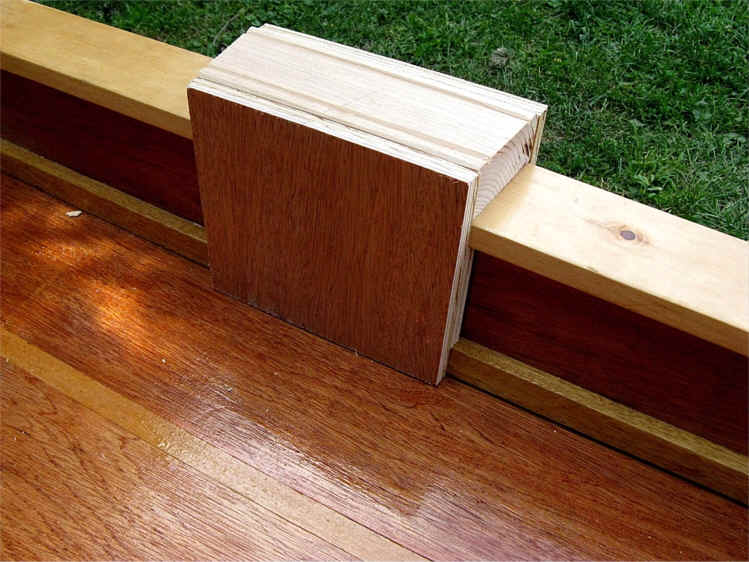
Here you can see the way the tapered bottom meets the skeg. I will secure the block and the two mounting pieces with bolts and wing nuts.
My next step was to fasten a small piece of maple hardwood to the outside mount. I marked the center of the board. Then I drilled pilot holes for fastening the hardwood to the board. I salvaged some nylon strapping. Lengths of this strapping will be the hinge for the rudder.
Two coats of paint help seal the outside mount.

One side of the rudder case is on the left in the photo below. The pulleys fit in the space above where the rudder goes. I measured carefully to be certain the rudder fit in the case and pivoted freely on the bolt. The pulley on the right handles a line attached to the leading edge of the rudder. When pulled tight, this line will keep the blade in the water. The pulley on the left handles the line attached to the trailing edge of the rudder. When this line is pulled tight it lifts the rudder out of the way during each launch. You can also see I rubber paste wax inside the rudder case before I inserted the rudder on the pivot bolt.
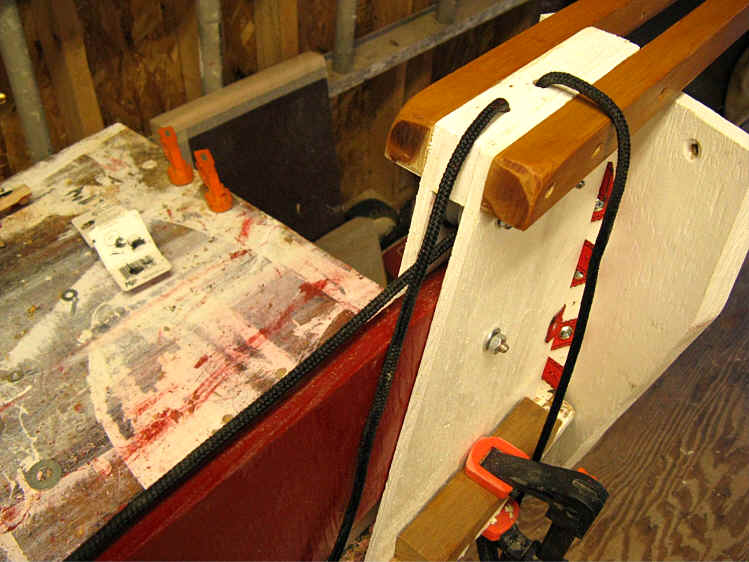
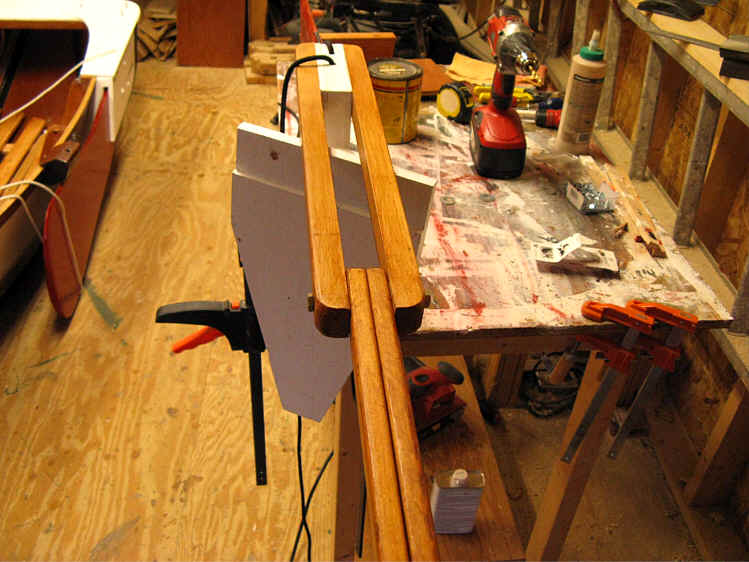
With some of the straps that form the hinge already attached, you can see the haul-up line, holding the rudder horizontal while the case is clamped to the bench. Two rudder control lines are shown in the photo. When sailing these lines will be inside the boat, providing up and down rudder control while under way.
The next photo shows the whole assembly clamped to my bench, showing (from left to right) the rudder, rudder case, mounting plate, tiller arm and extension.
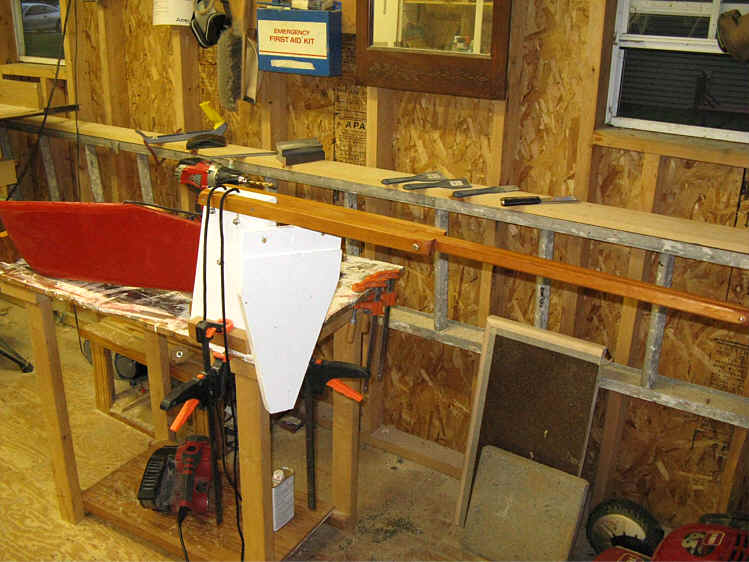
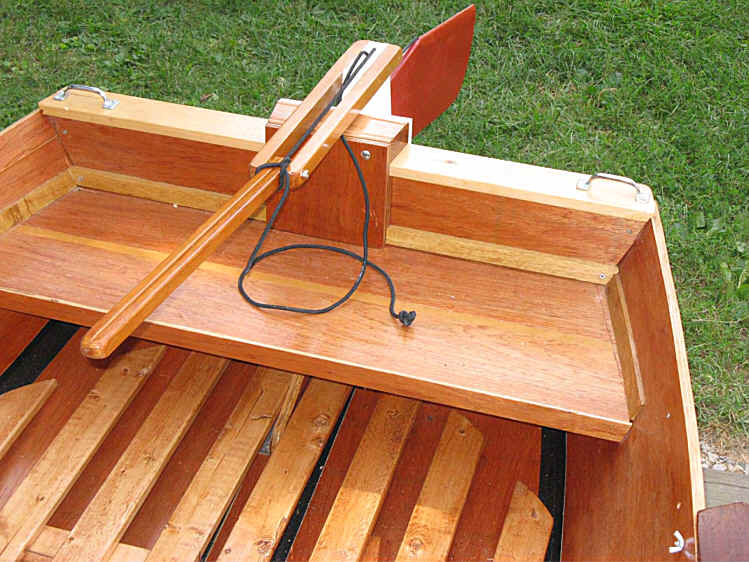
Here is a long view of the tiller extension. When not needed the tiller extension folds back out of the way. I made the tiller arm and extension from maple which came from an old crib someone was throwing into the trash.
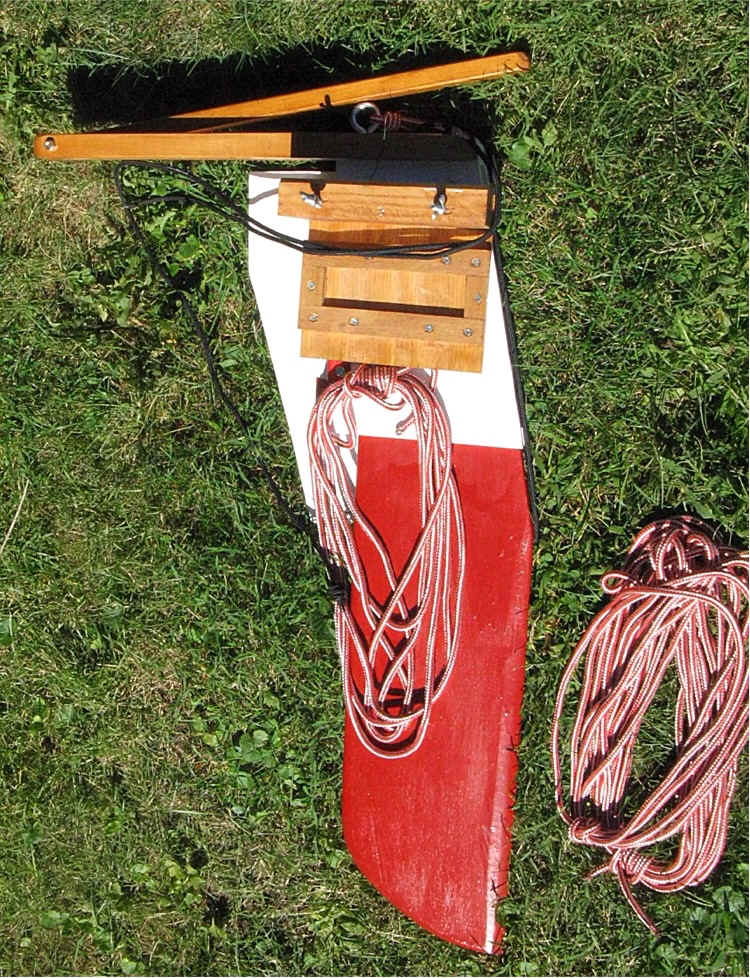
Rudder Assembly ready to be mounted on the transom.
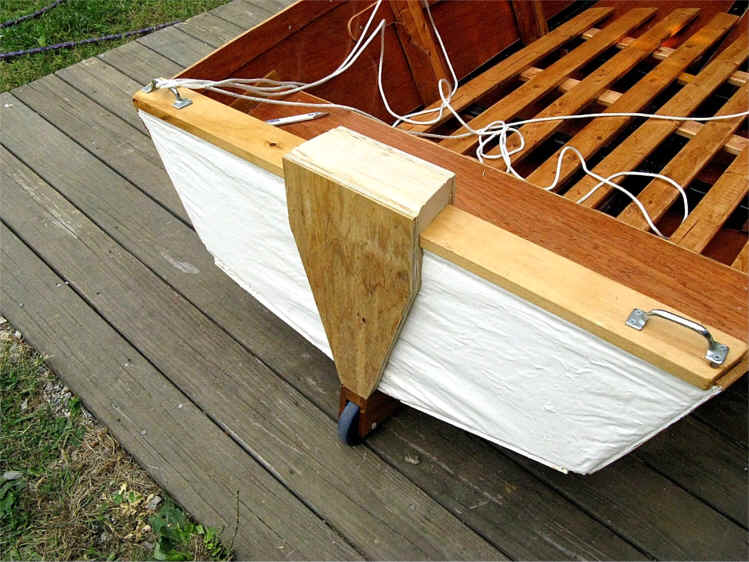
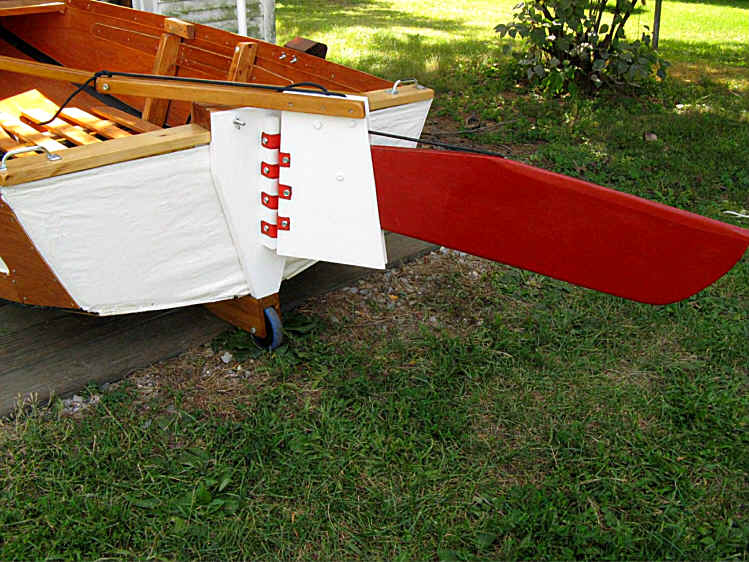
Mounted on the transom, the rudder assembly looks like this. You can see how the haul-up line keeps the rudder from getting damaged when out of the water.
Assemble the Barquito Gallery of Pictures
1 Basic Boating String Theory 2 Sewing the Hull 3 Keeping the Water Out
4 Center Thwart 5 Bow 6 Foredeck 7 Transom 8 Oarlocks / Oars 9 Skeg
10 Conversion to Sail 11 Leeboard 12 Rudder 13 Mast and Spars 14 Sail and Rig
Other Folding Boats On line Sailing School Boat Building Links