![]()
© 2004, 2005, 2006, 2007 by Man of the Cloth Productions
In the Zephyr, the bulkhead stiffens the sides, and provides the basic framework for both the cabin storage and the galley pantry storage. In my design, it also contains the control panel for the 12 volt DC system, an electrical chase, and a few AC outlets.
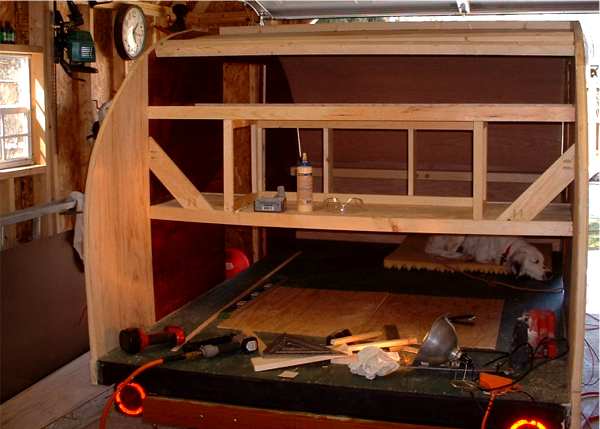
The first step was to build the wall that would be below the finished bulkhead. I used the wall as a prop to hold the first shelf as I installed it. Then I set it aside for later installation. I wanted it out of the way so I could work close to the bulkhead by having my legs under the shelf. The open space made it easy to reach for tools and materials.
Making the bottom shelf of the bulkhead required several steps. I used spruce for lateral support of the plywood shelf. I also ran perpendicular supports under the shelf at the ends and at intervals in between. After careful measurement, I built the shelf on a workbench, then I slid it into place. I secured the shelf to the sidewalls with long finishing nails. Because there is a frame inside the wall, these nails anchored the shelf not merely to the oak veneer, but into the strength of the frame inside the wall.
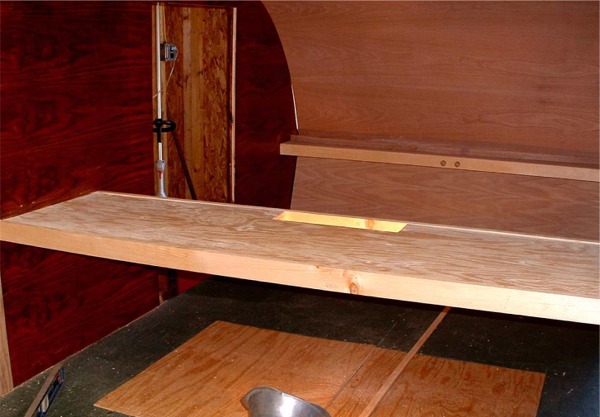
In the photo above you can see a bright spot. This is an open space I cut into the shelf catching the light from the lamp below. This space is the start of the vertical electrical chase.
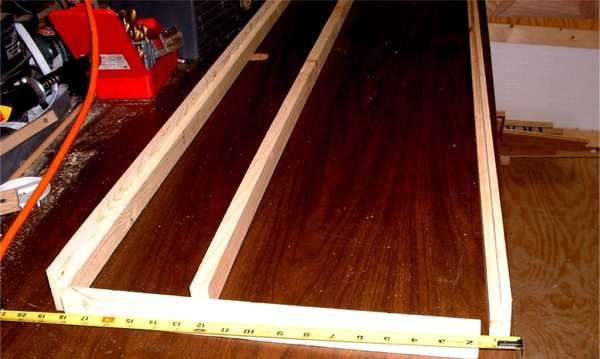
I started the upper shelf in the bulkhead the same way: I trimmed spruce to fit, then glued and fastened the pieces with brads using the air-powered nail gun. However, I did not cover the spruce framework with the shelving at this time. I left it open so I would have good access to the entire framework as I installed the various pieces. I installed the shelving for the top shelf at the end of this part of the project.
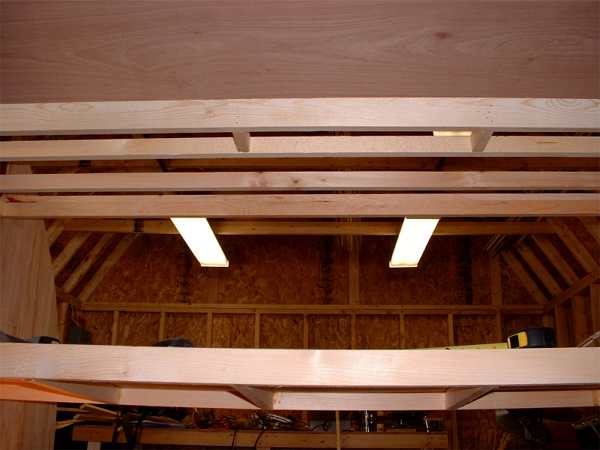
Below, you can see the upper shelf installed. The ceiling is visible above. It looks like the cabin ceiling skin is attached to the upper frame, but this is only an optical illusion.
Once the lateral pieces were in place, I installed the inner frame, which holds the veneer skins that separate the cabin side from the galley side.
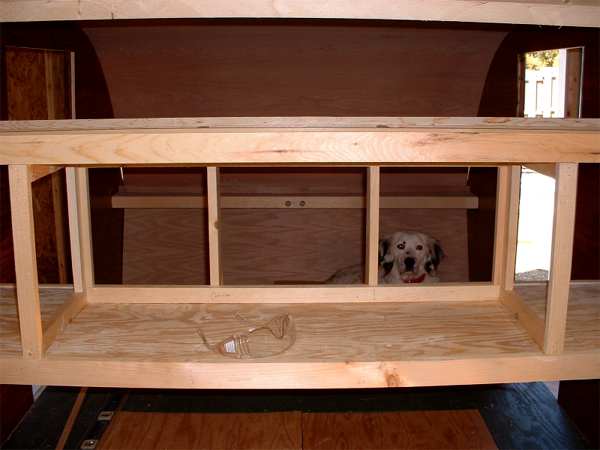
I added some braces to further stiffen the bulkhead and increase the strength of the shelf. Nellie thought this is a great place to snooze.
This next view is taken from inside the cabin. Two uprights in the bulkhead define the vertical part of the electrical chase. These hold the AC outlets for the cabin. As you can see, my first attempt to drill the space for the outlets was not successful. I ended up taking these two pieces out, cutting holes for the outlet boxes with a jig saw, then reinstalling the uprights.
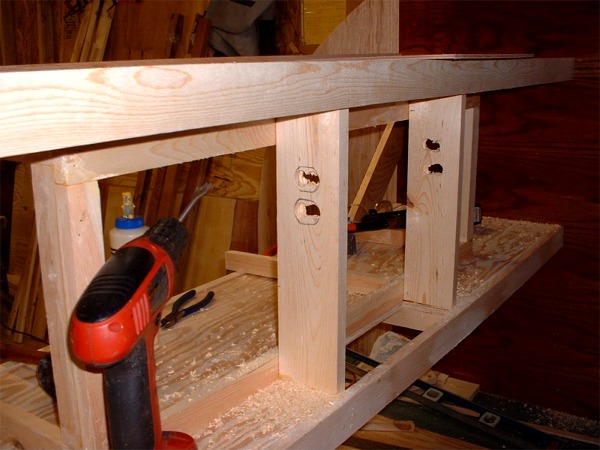
Using the jig saw was much better, and installing the outlets in receptacle boxes is what domestic building code calls for anyway. The carpenter's "quick" square helped me keep the framing square to the shelf.
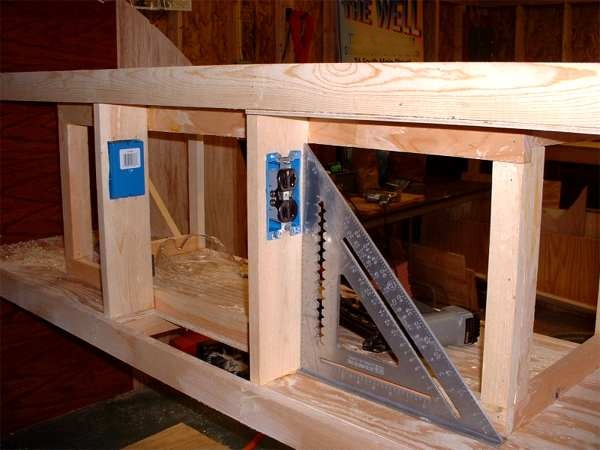
I designed the bulkhead to provide access to the outside source of AC "shore power". This picture shows the holes that are part of the horizontal electrical chase.
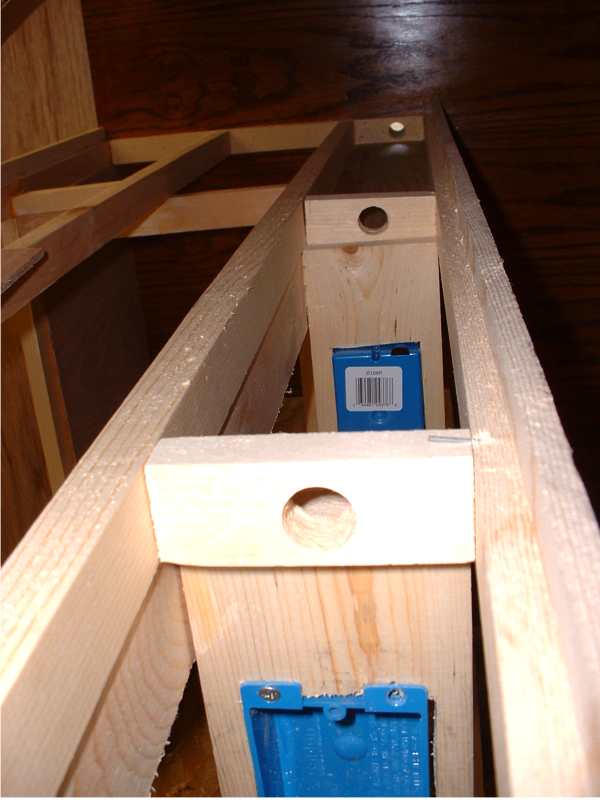
Using oak veneer, I skinned the inside cabin storage areas. The central part of the electrical chase will not be seen so I skinned it with scraps of luan I had from another project. This photo also shows that I placed a luan veneer on the bottom of the top shelf framework. This enclosed the bottom of the horizontal chase.
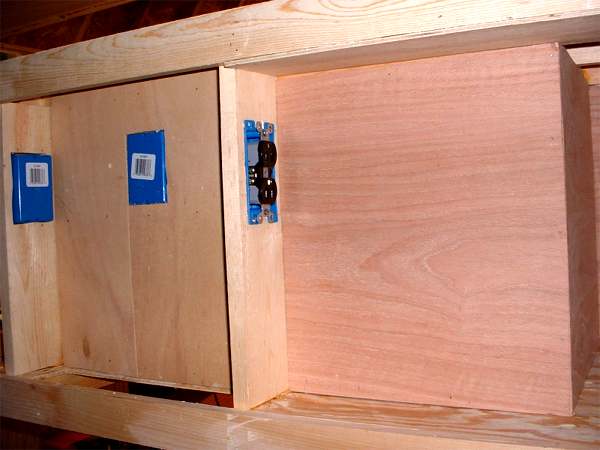
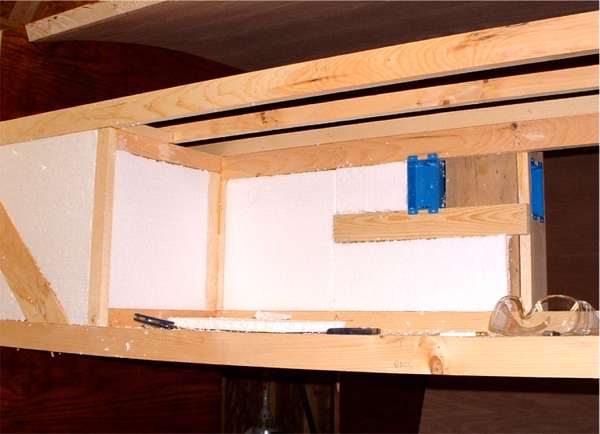
Once the cabin-side storage veneers were glued and fastened with the air-powered brad gun, I insulated the back of these walls. In the photo on the below you can see the AC outlet box that faced into the galley from the chase.
Another
approach to building the bulkhead was to build it as a completed unit and
then install the entire unit in the cabin.
I found my approach to this project better.
The cabin walls were not exactly parallel. I measured and corrected
these minor variations as I built each piece of the bulkhead.
.Please visit this sponsor