© 2004, 2005, 2006, 2007 by Man of the Cloth Productions
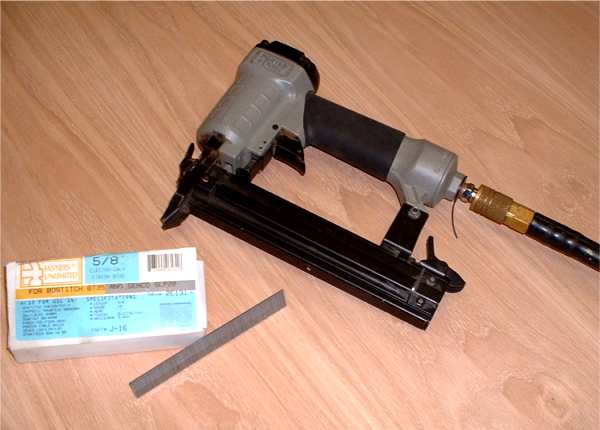
After the walls were trimmed to match each other, my next step was to attach the interior skin. I selected 1/4" oak veneer on a plywood core. I used an air gun with 5/8" paneling brads to attach the oak skin to the insulated wall.
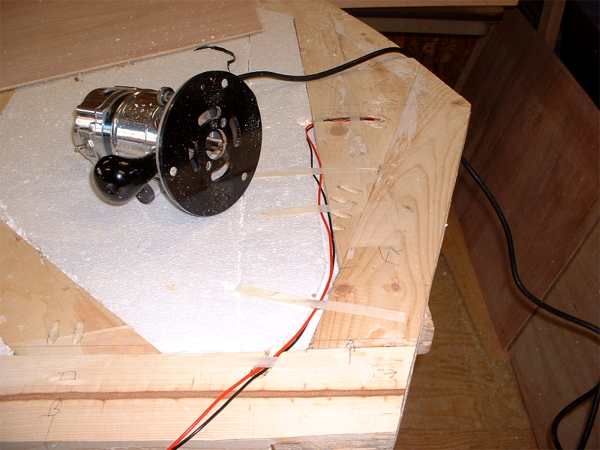
Before attaching the interior oak skin, I located the position of front and back clearance lights. I used a router to cut a path in the pine frame and the insulation for these wires. I wasn't prepared for the cloud of static charged beads from cutting the styrofoam. White beads were clinging to everything! I drilled a small hole to pass the wires through the exterior plywood. Thin masking tape held the wires in place.
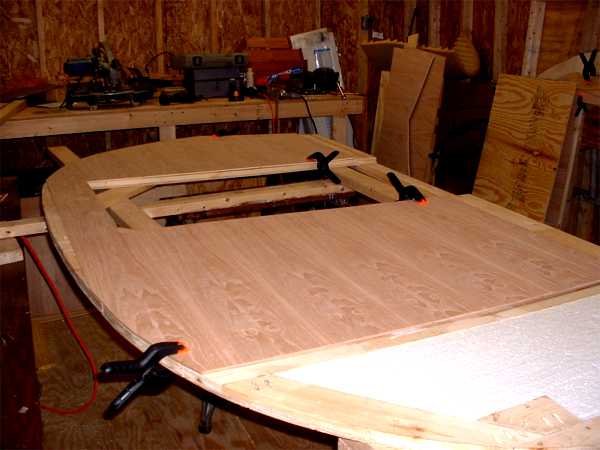
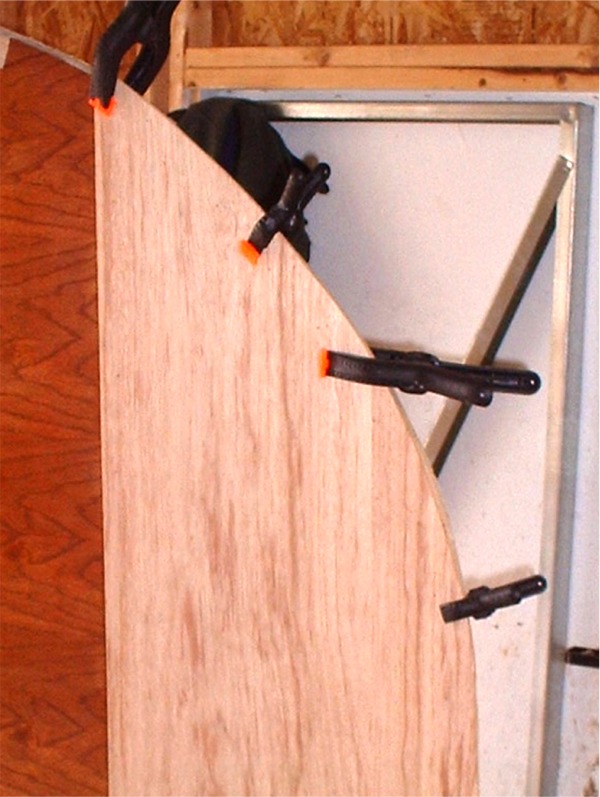
Next, I laid the oak skin on the frame and clamped it. As before, I marked the line of the profile on the waste side of this stock. I used a jigsaw to cut the curve. The following picture show the skin just before I removed it to apply the glue and reposition it for nailing.
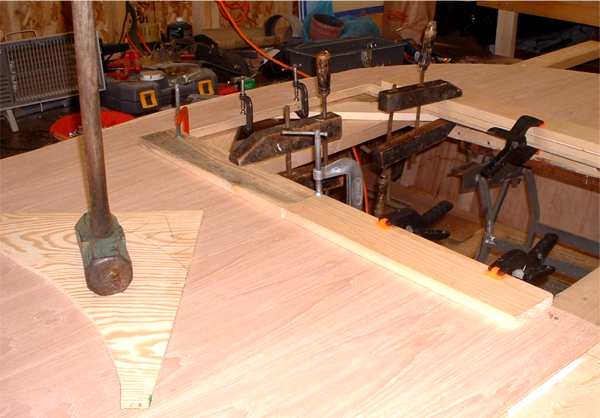
I used Titebond III waterproof glue around the perimeter of the frame and door opening. I also applied Liquid Nails - Paneling Adhesive on each pine frame member. I used clamps to hold the skin in place once it was in exact position. Then I air-nailed the oak to the frame, nailing every 4 inches around the perimeter. To have a good bond around the door frame I clamped the oak skin and let it dry for 6 hours before moving the wall. The sledge in the picture below was just dead weight to help the panel adhere to the framing where the bulkhead was attached to the side wall.
I applied the other interior skin to the second wall the same way.
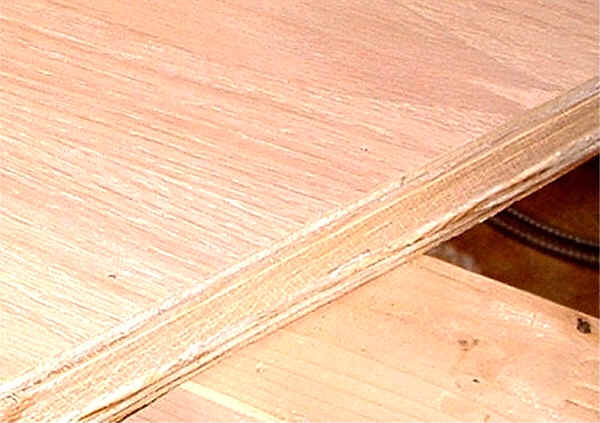
In the photo to the right, you can see how the wall was built up. The weight was also increasing with each layer. The external plywood was 3/8", the pine frame was 3/4" and in interior oak veneer was 1/4" thick. The total thickness for the wall came to 1 3/8". But this insulated, built-up wall was actually lighter than a solid plywood wall of the same dimensions.
To stain the interior side of the wall I used MinWax Red Oak stain and applied it with a sponge brush. Then I wiped off all excess stain with a rag. The stain dried in 20 minutes because the air was so dry. Next I applied amber colored shellac. This product was not like the sticky shellac I remembered using in childhood. This was an alcohol-based product that also dried to the touch in 20 minutes. I was able to stain and apply two coats of shellac in one evening because of these quick drying times
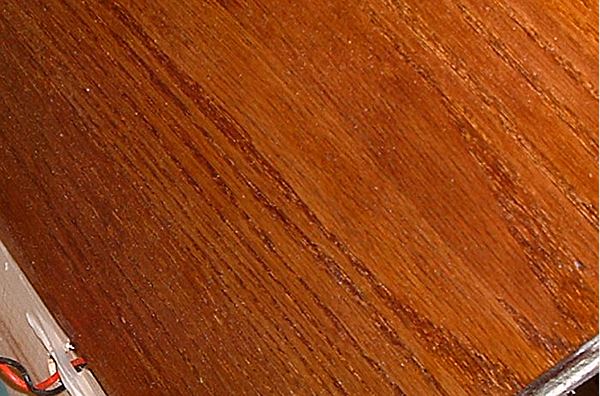
The red and the amber created the nice warm highlights I wanted.
I finished the main cabin wall surfaces at this stage of construction. I could have waited until the interior oak ceiling was installed. I chose this approach because I wanted the interior wall surfaces to be dry when I stained the ceiling. I heard of other builders who finished their interior all at once. They faced the problem of having to work around too many wet surfaces.
I added the luan in the galley area at this time. I used the air-powered nailer to hold the panel in place with 5/8" brads after I had applied glue to the frame. The clamps help insure a tight bond at the edges.
.Please visit this sponsor