© 2004, 2005, 2006, 2007 by Man of the Cloth Productions
For some
reason, I was dreading the thought of building the doors.
Perhaps it was because I knew that if these leaked, the whole project would be
unsuccessful. As it turned out it wasn't any more difficult than the other
steps of building the Zephyr. I was glad I waited until near the end to
build and install the doors, since my skill with the saw has improved.
I built the
doors the same way I assembled the walls. I started with
a 1" x 4" frame. (The actual dimensions of this lumber turn out to be
smaller than the purchase description in the lumber yard.) I made
sure I selected very straight, untwisted white pine.
I started the
door by measuring the inside dimension of the opening for the door in the
wall, allowing for the thickness of trim that would go around the door.
I used the
pocket hole jig to fasten the frame together. After measuring twice for
the window opening, I glued and screwed the cross pieces to form the opening. I
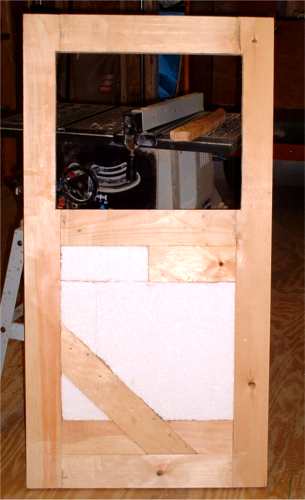
installed the brace the same way. I
was extra careful to make sure that the frame was flat, true and square at this
stage. In the picture above, the brace will go on the hinge side of the door.
The block is a support for the latch. Minor variations were smoothed out with
the belt sander. I placed the exterior plywood on the outside of the door.
The skin was fastened with waterproof glue and 1" brad nails, shot with the
nail gun.
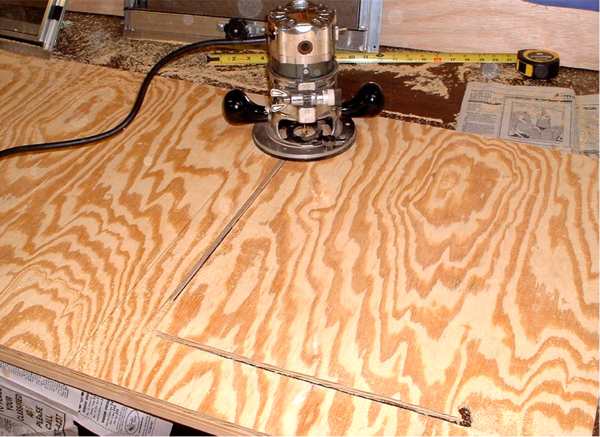
Once the exterior skin was on, I drilled a hole in the skin to receive the router trim bit. The inside edge of the window frame served as a guide rail for the trim bit to follow. It made a neat, clean job. After I put the plywood door skin on, it was slightly larger than the frame. Since the frame was already square, I just used the router to trim the outside edges to the frame.
I
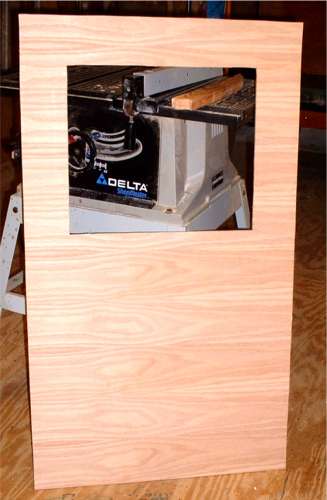
did the same thing for the interior door skin. Before this was
attached, I insulated the door and double-checked the dimensions of the door. Here
is a picture of the interior skin just before I attached it to the frame and
another one after it was finished. I fastened it to the frame the same way
I built the interior walls.
I finish the door by
staining, and applying two coats of interior shellac. I used fiberglass resin
from Wal-Mart to seal the end grain of the window opening and the outside
dimensions of the door to prevent water absorption and damage.
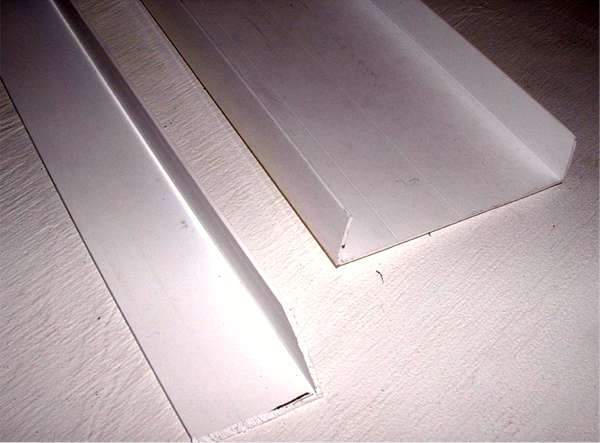
I wanted to trim the doors with something that would give them a finished
look. At first I thought of using aluminum. Then I came upon a
construction site where new windows were being installed. After asking, I came
away with an arm load of vinyl sill extenders that were being thrown in the
trash. The photo on the right shows a sill extender (right) and how I trimmed
them down to cover the edges of the door (left).
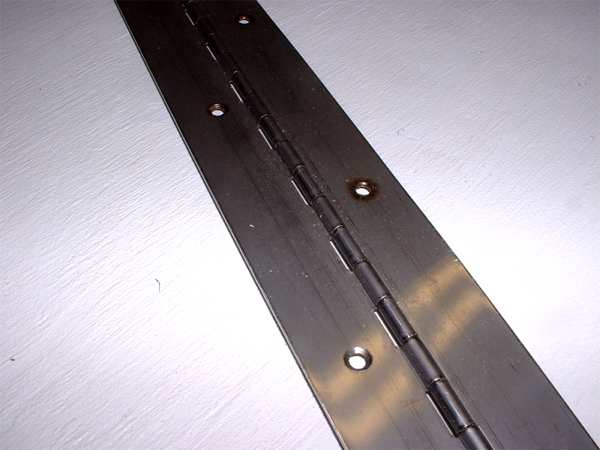
I purchased
stainless steel continuous hinge from Austin Hardware. They were cheaper to buy without holes.
Using a neighbor’s drill press I counter-sunk holes for the screws that would
fasten the door to the trailer. I offset the holes so the screw heads
would not bind when the hinge closed.
.
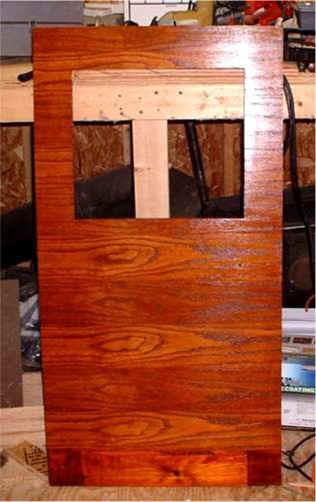
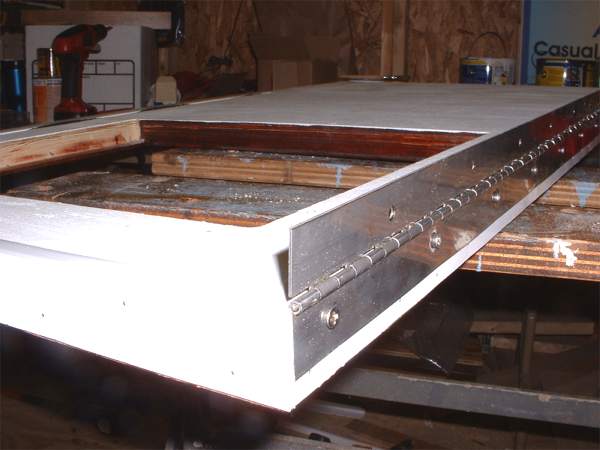
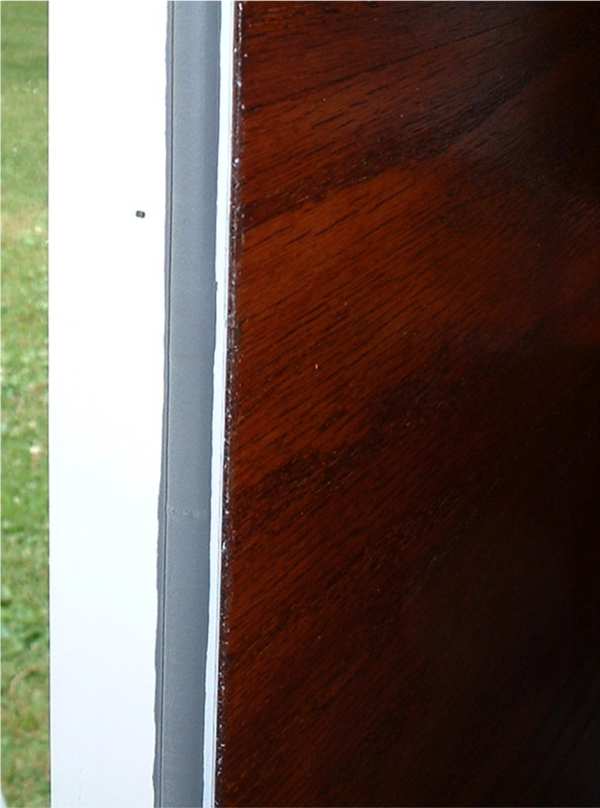
This picture shows the door after I applied the first coat of the exterior
epoxy finish. The edges were covered with the vinyl trim pieces and the hinge
was fastened to the door with stainless steel screws. The opening was ready for the window to be set in, caulked,
and attached with screws.
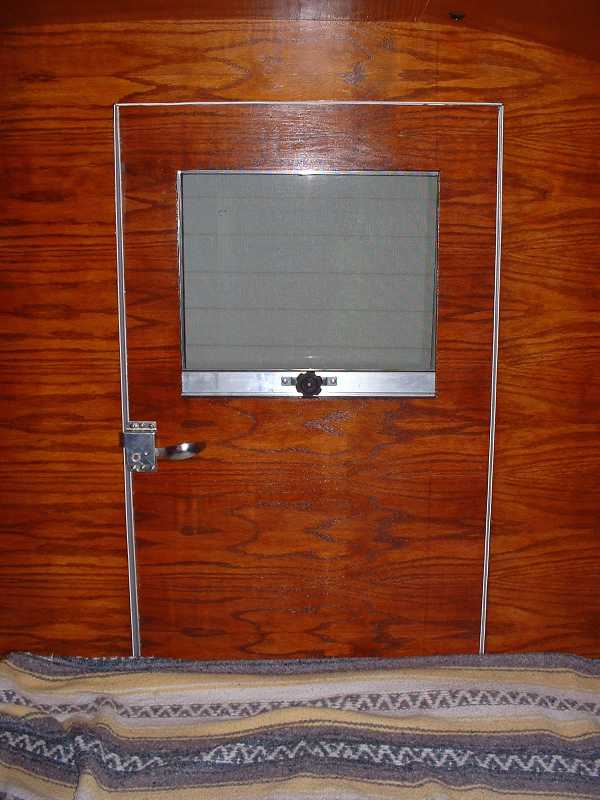
This is what the interior of the door looks like when mounted to the edge of the wall. You can see how I also placed vinyl trim on the cabin side of the door opening.
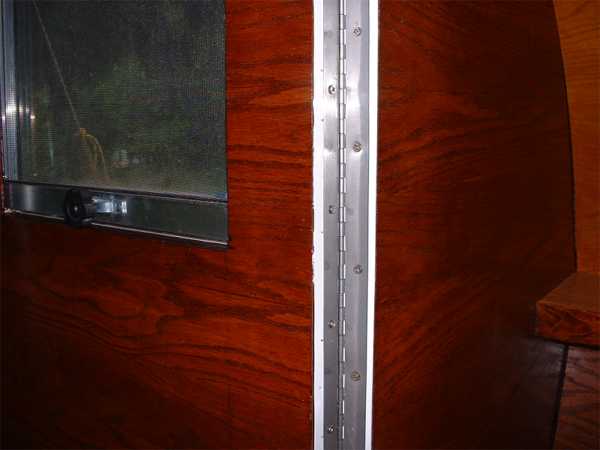
The window came from Li’l Bear Teardrop Parts This is a nice supplier with quality products and prompt service. A finished door looks like this from the inside.
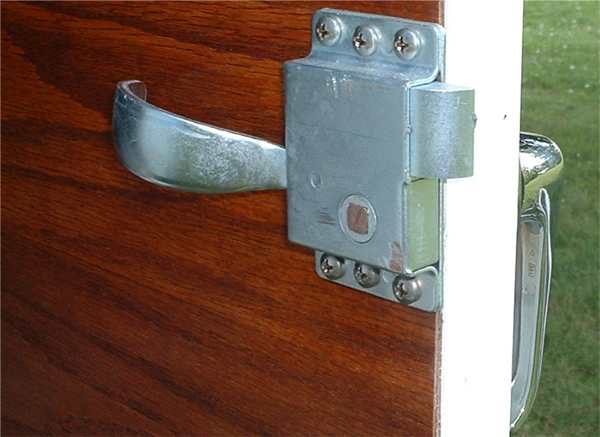
The door cab latch
and handle came from Austin Hardware. Their prices were lower than I could
find locally or anywhere else on the web. On the inside of the door I
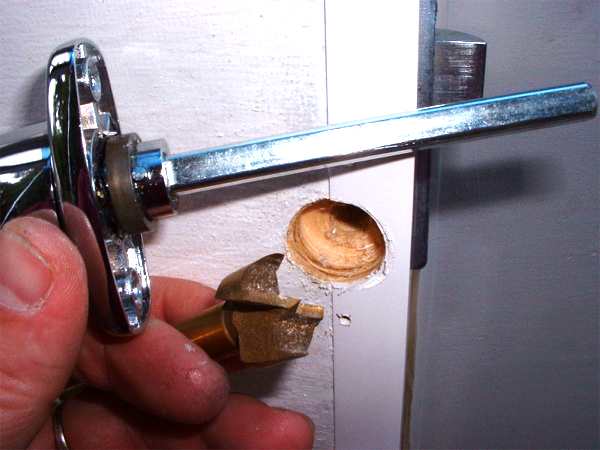
mounted a cab lock. This included a surface mounting lock and cab handle.
Once this was in place, I drilled a pilot hole, from the inside of the door,
through the shaft hole in the cab lock, to the outside. Then using a
forstner bit, I followed the pilot hole from the outside, and
drilled a recess to receive the dimensions of the handle when mounted
flush on the outside of the door. Next I passed the handle shaft
into the hole and through the cab lock mechanism. After I mounted the
handle, I cut off the excess shaft with a hack saw.
This shows what the finished door lock looked like from the inside.
The last step
was to attach a drip edge to the wall above the door.
I made this out of salvaged vinyl.
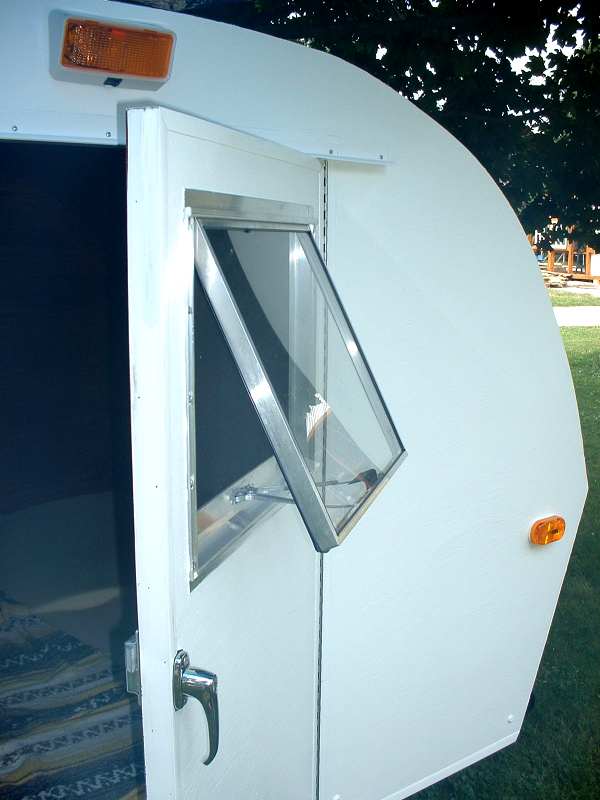
The photo shows the finished window and door handle. I used a simple adhesive weather strip from Home Depot to keep out the weather.
.Please visit this sponsor